About resources #
Resources can be uploaded for further usage in Configuration Management, Platform Management or Image Management.
There is currently no limit on the file types you can upload.
Features #
- Upload resources and assign a description and tags
- Edit PowerShell scripts and text files directly in the browser
- Check where a resource is assigned in Image, Platform, and Configuration Management
- Upload multiple files, define tags and descriptions per file or in a batch
- Track changes in the Activity log
- Add a resource to make it available in Image, Platform, and Configuration Management for assignment to provisioners, configurations and scripted actions
Use cases #
A resource can be an image, a script, different installation files, license files or for example FSLogix rule-sets. Upload everything that you need to define your operating system templates in Image Management or your connected nodes in Configuration Management.
Overview #
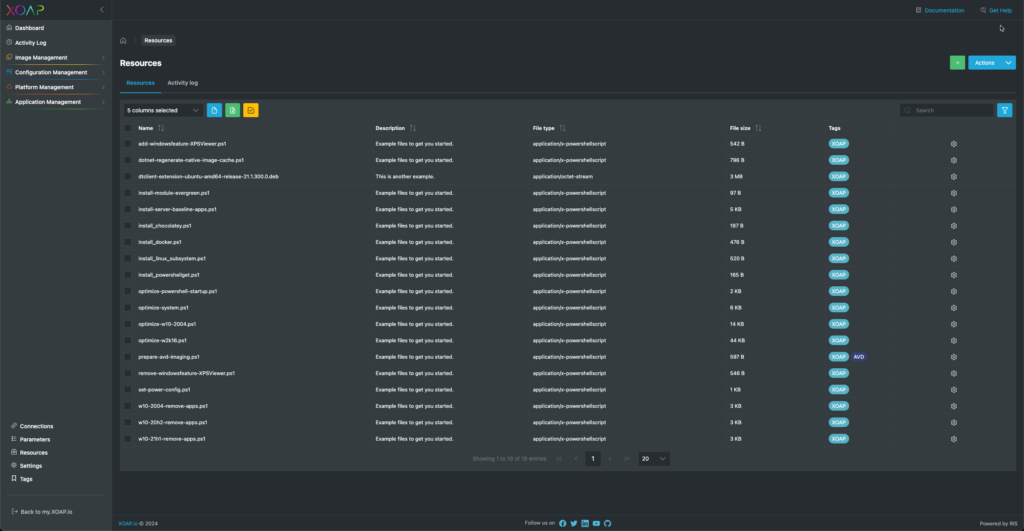
In the overview, you can find all uploaded resources with an optional description, the file type and size as well as assigned tags.
Add resources #
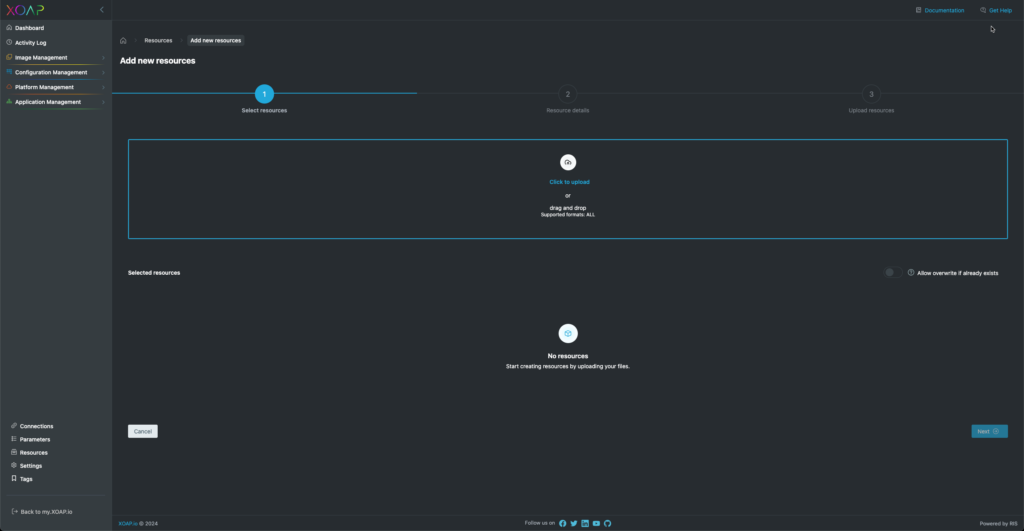
By clicking on the green “+“, you can add a resource. Simply drag & drop files or click on Click to upload to open a browser window.
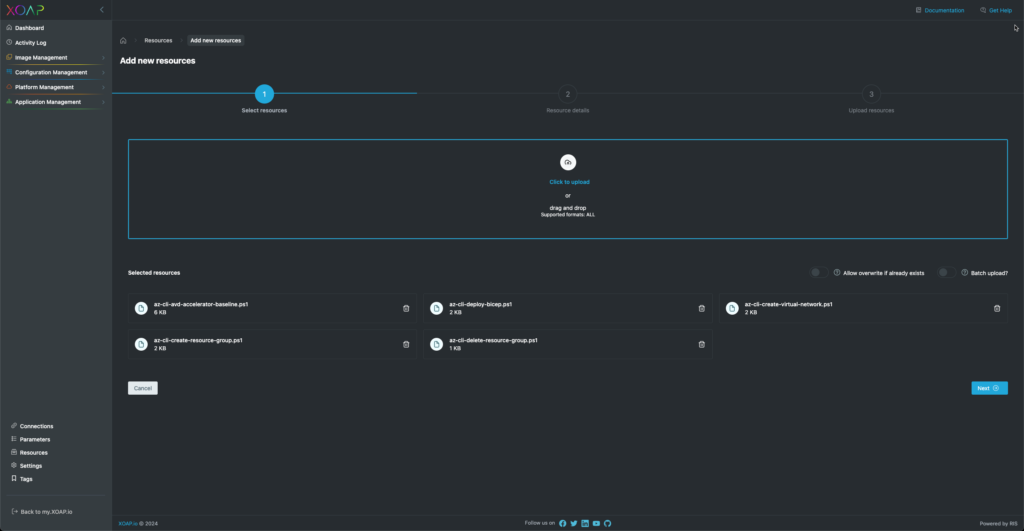
Added resources will be shown beneath the drop zone. You can remove files if you change your mind.
If you want to add the same tags and description to all files choose Batch upload. You will be able to adjust every file in the next step separately. If you want to completely overwrite existing files choose Allow overwrite if already exists.
Click Next.
Now you have the option to adjust the details of each resource. You are also free to skip these adjustments and upload the files without any details. You can do this later if you wish.
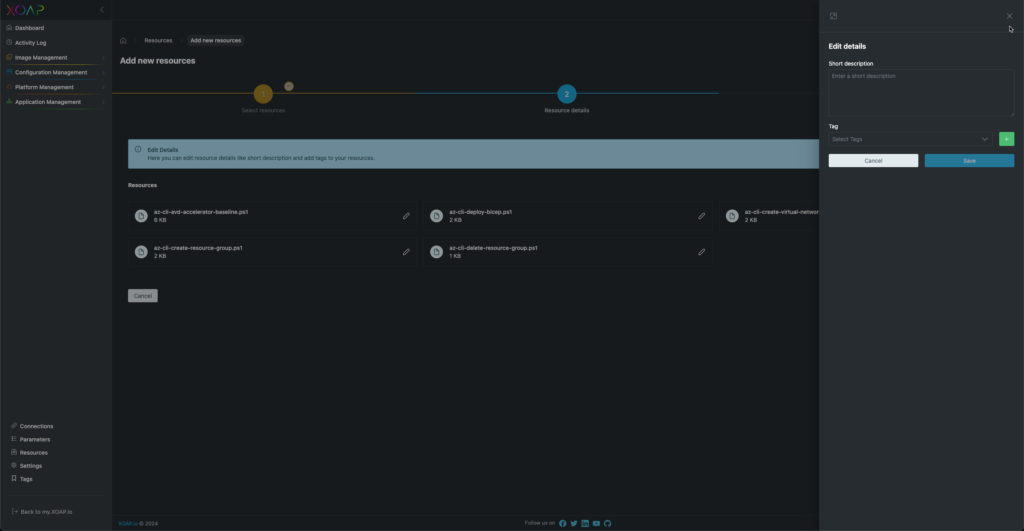
The batch upload works similarly to single editing but applies the adjustments to all files in the upload batch.
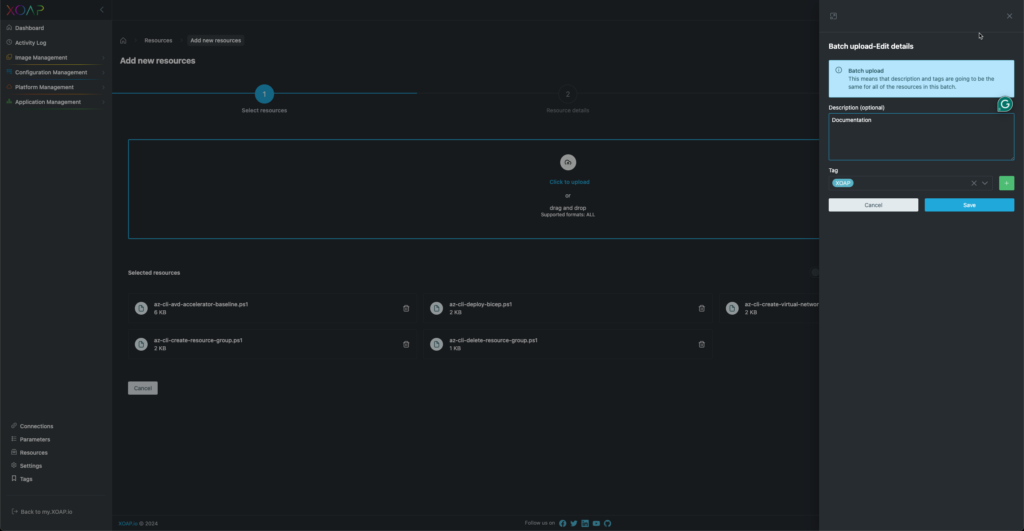
Click Finish.
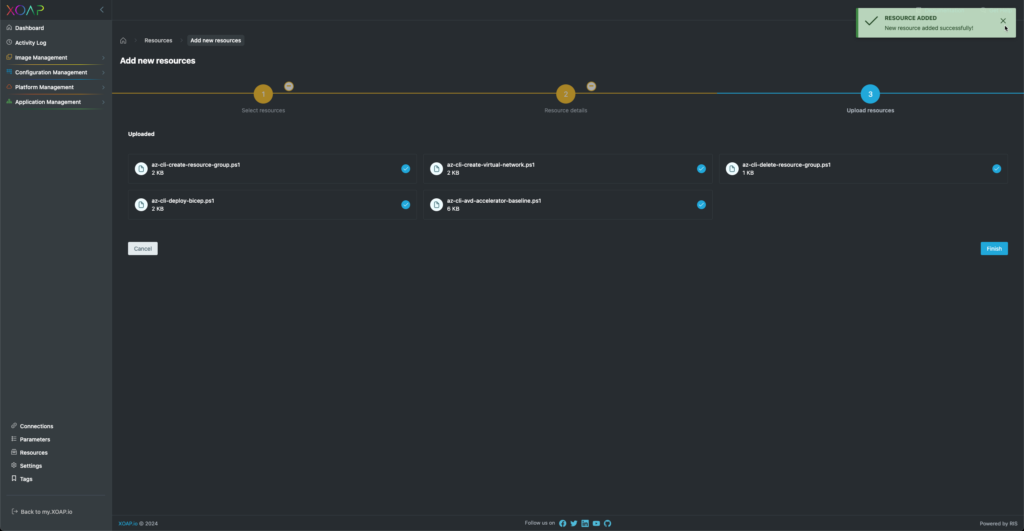
Resource details #
If you decide to delete a resource, click ⚙️ next to the tag. If the resource is assigned to a provisioner, configuration or scripted action, you will be presented with an overview of the assigned items. From here, you can choose the resources you want to detach the tag from. If you select all, the tag will be detached from the resources and then deleted.
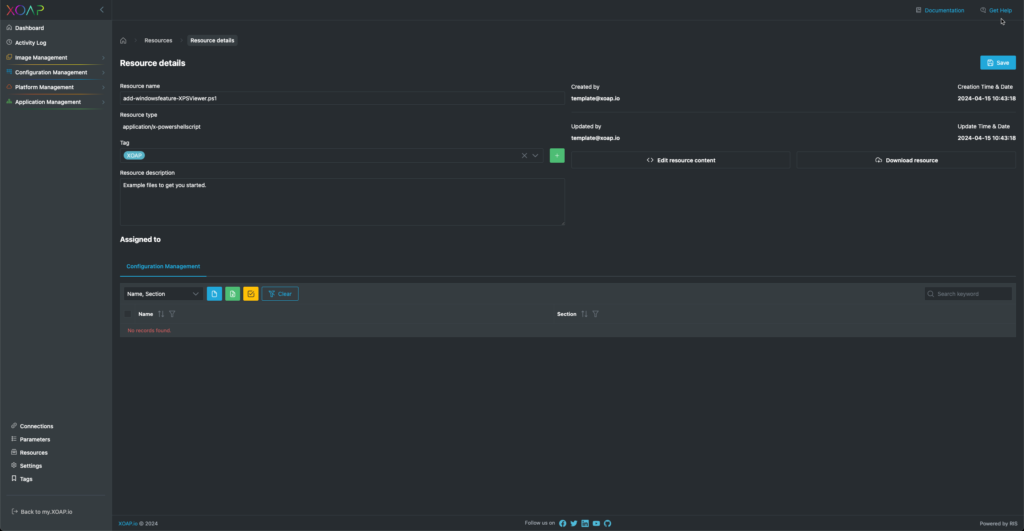
PowerShell scripts and text files can be edited in the details view directly by clicking on Edit resource content.
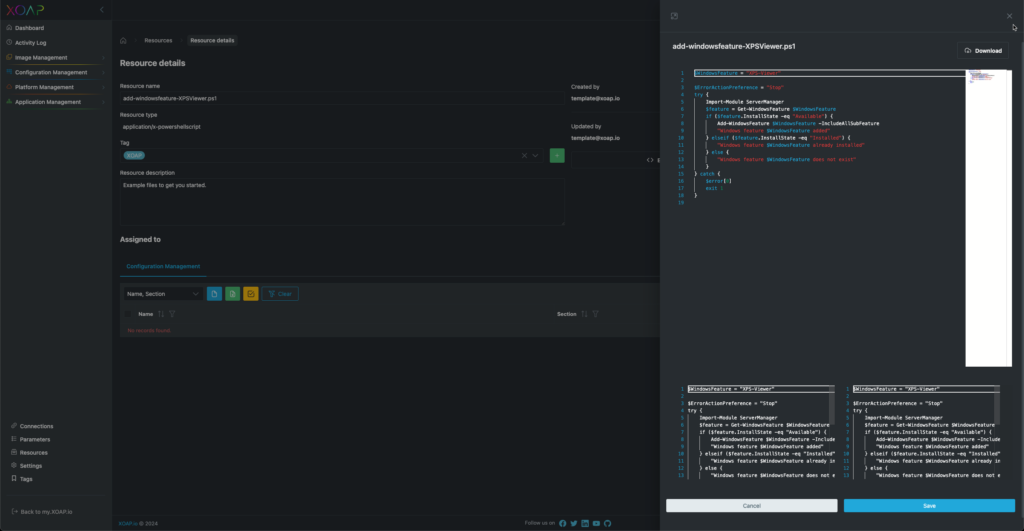
If you need more editing space, the slideout can be maximized.
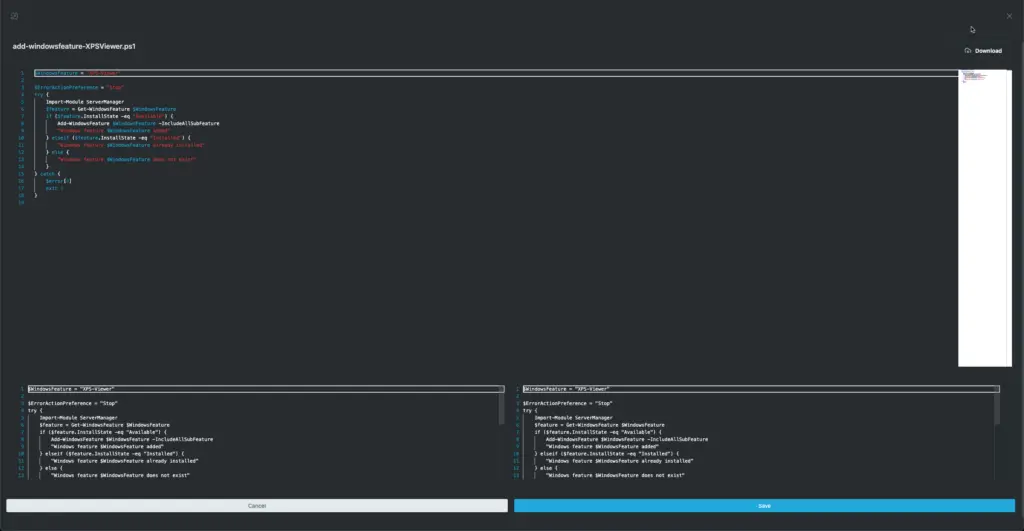
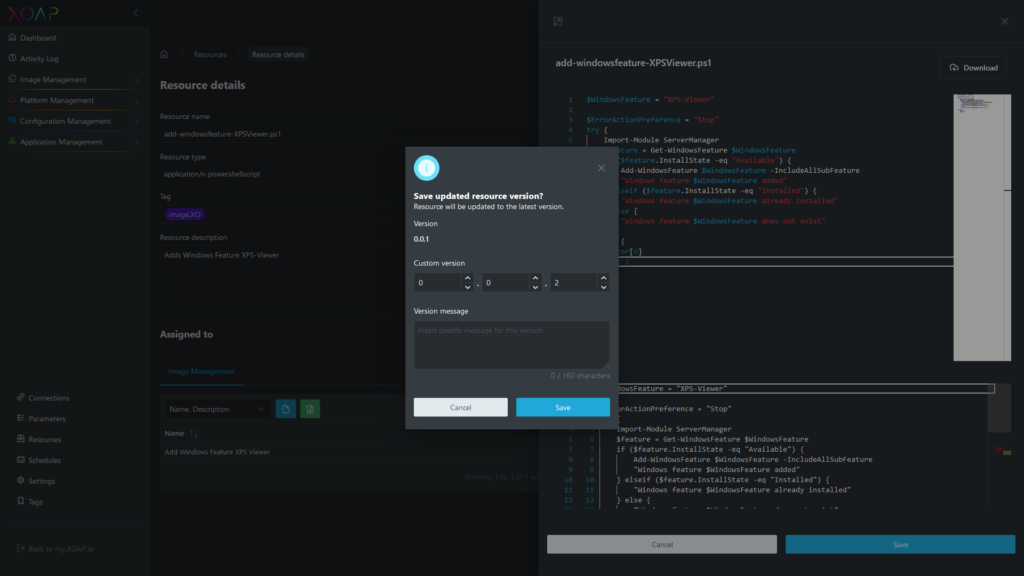
Saving updates on resource code will show a window to create a new version of the resource. You can set up a version and a version message.
Delete resources #
Resources can be deleted by using ⚙️ in the specific row of the resource or by multi-selecting resources and by using the multi-item-action button in the upper right corner above the data table.
If you want to check where a resource is used before deleting the resource, you can do so by navigating to the details of the resource. In the lower screen, you can find the Assigned to area, providing an overview of where the resource is attached in other modules.