Images #
This area shows the configured images in your account.
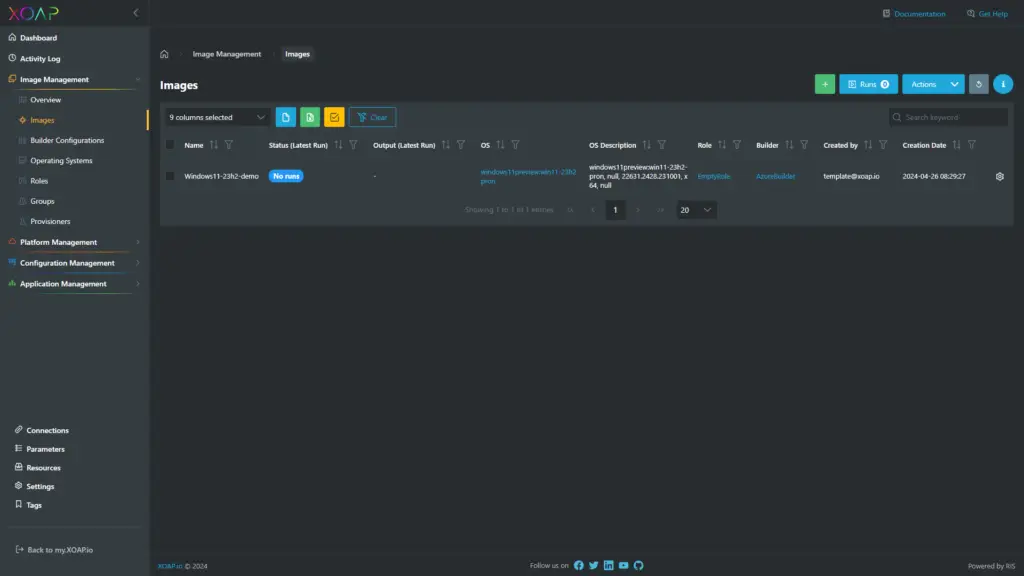
Image creation process #
The image is the last step in the Image Management creation process that typically starts from the ground upwards. The process is as follows:
- Upload resources to the global resource area (e.g. PowerShell scripts, installation and configuration files)
- Assign these resources to provisioners
- Create groups from provisioners (e.g. Baseline configuration)
- Create roles out of multiple groups (e.g. Citrix Server VDA or Web Server)
- Create an operating system configuration item (e.g. Windows Server 2019 x64 in English)
- Define a builder (e.g. build the image on AWS in eu-central-1 on a m5.xlarge instance)
- Put everything together to create an image template that can be used in the next step to provision your infrastructure
Data table functions in images #
1. Select Column Function: Depending on the information needed, you can select the columns you want to be shown. The view of columns can always be changed.
2. Data Export: You can export the data from the spreadsheet either as CSV, XLS file or only by a specific selection.
3. Spreadsheet Columns Function: By clicking on the Arrow you can choose to show data either from latest to newest or vice versa. Moreover, by selecting the Funnel you can filter according to further criteria.
4. Search Function: Filter the entire data table for specific keywords.
5. Status (Latest run): This will show the status of the latest run. Clicking on it will open the last run log.
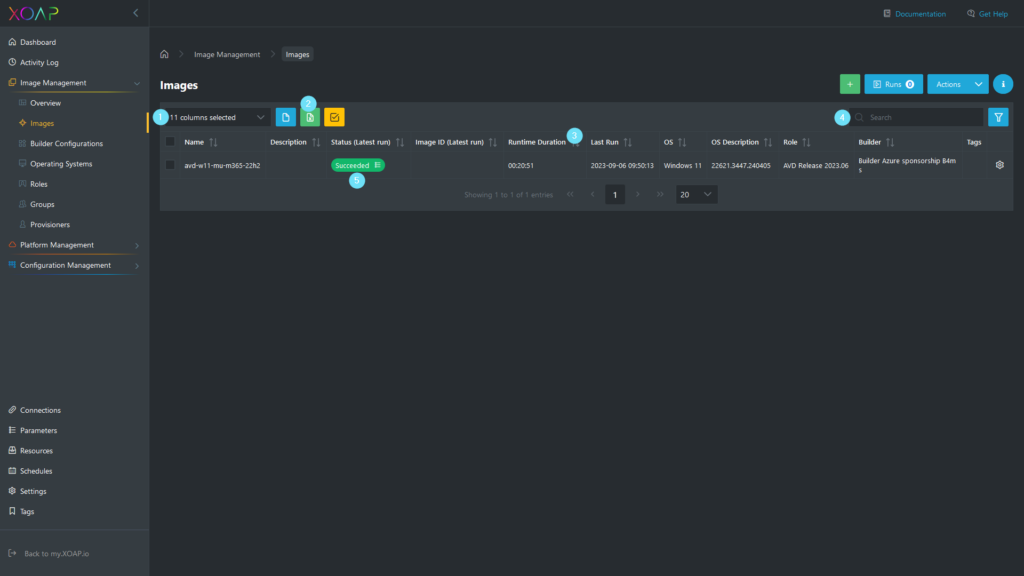
Table view #
The Images table view contains the following information:
- Name of the images defined by a user
- Status (Latest run) shows the status of the image last run
- Output (Latest run) shows the latest output of the image run in the form of the ImageName-version
- Image ID (Latest run) shows the image ID of a specific image run
- Operating System (OS) and OS Description that should be used for the image creation
- Role that is attached to the image
- Builder that is assigned to the image
- Created by shows the username of the image creator
- Creation Date and general Description of the image
- Base, if existent, is the image that should be used to create new ones from
- The latest supported version of Packer that was used to create the images
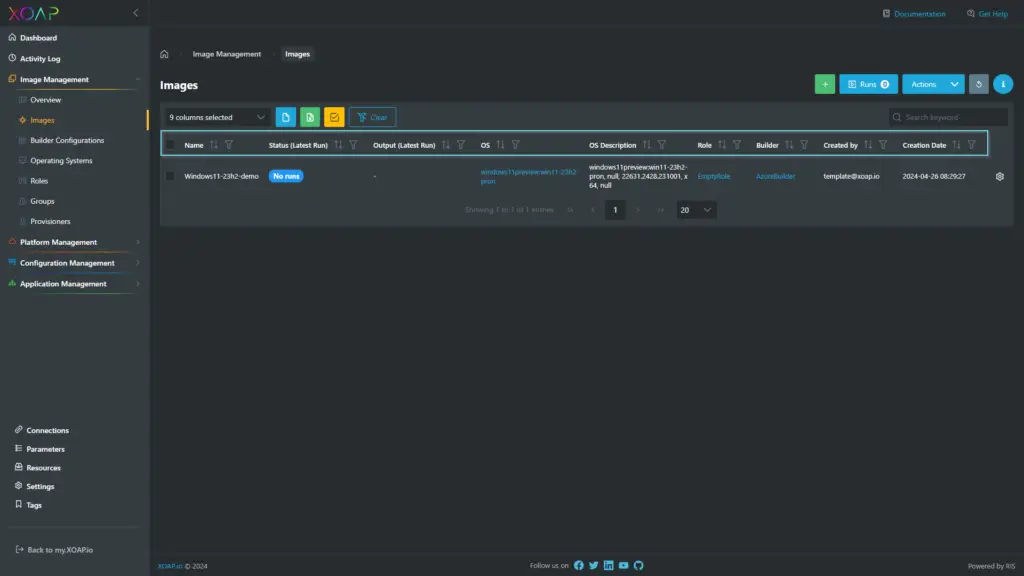
Columns can be expanded and minimized via drop-down menu as needed.
Action menu #
Click on the button to get more information and options to choose from:
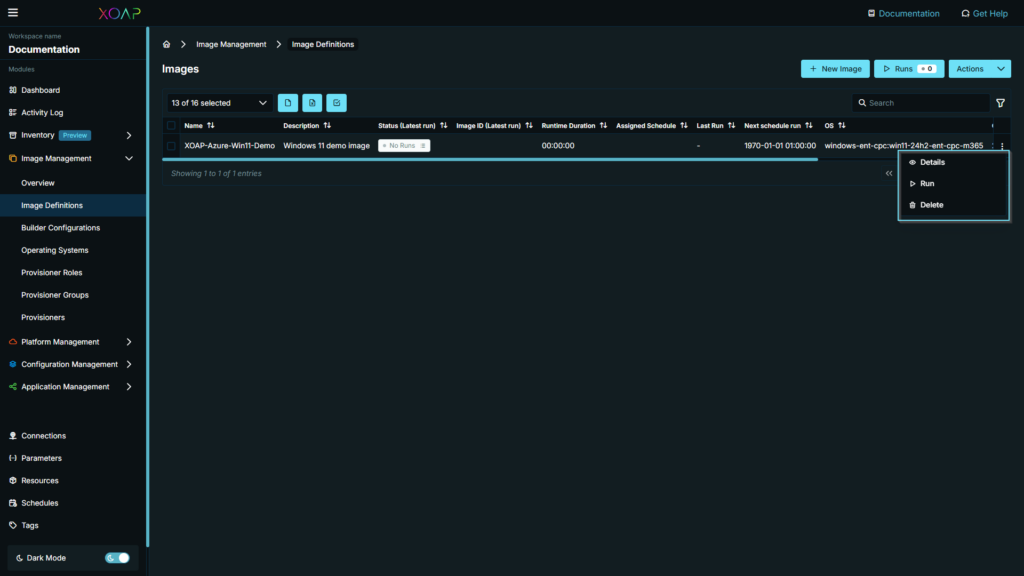
- Run to start the image building process as configured on the images
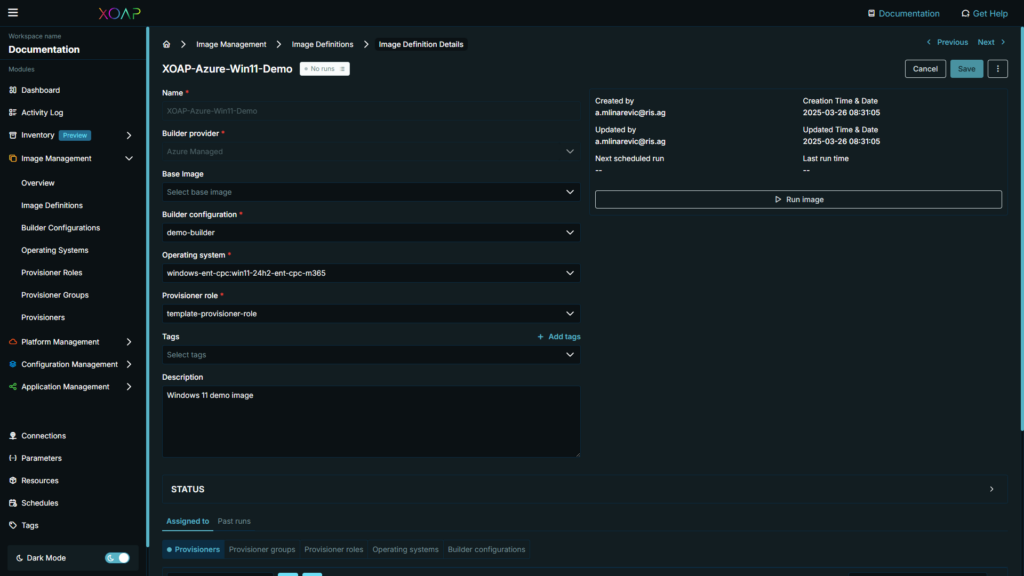
- Details show all information about specific image definition, including status over time, assigned components, past runs and more
- Delete all created images in the configured destination
Add images #
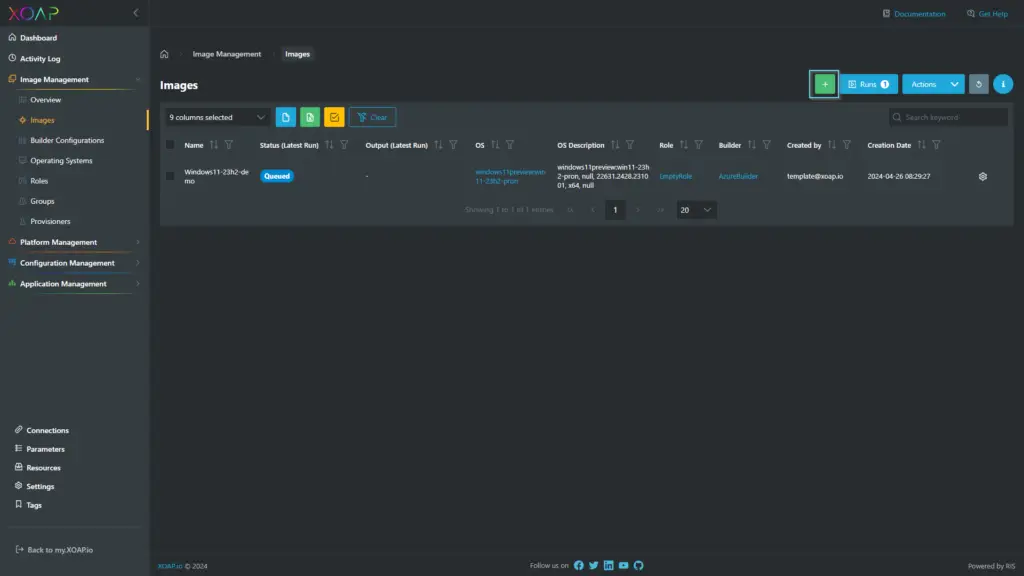
Navigate to the Images Section underneath the Image Management overview and click on +.
A new window opens, where you need to insert a Name for the image. For the name, a maximum of 70 alphanumerical characters is allowed. – and _ are allowed too, but not at the beginning or the end. Then, add a Description and choose from the drop-down menu how the image should be configured. You can choose from an already created base image or create a new one from scratch.
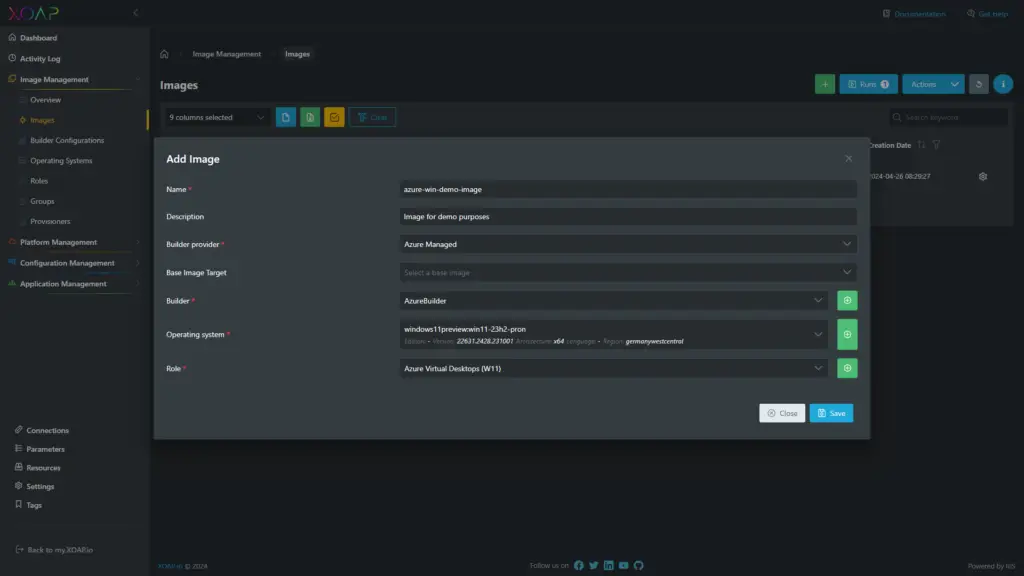
If a base image has not been created before this option is not available.
When you are done, click on Save.
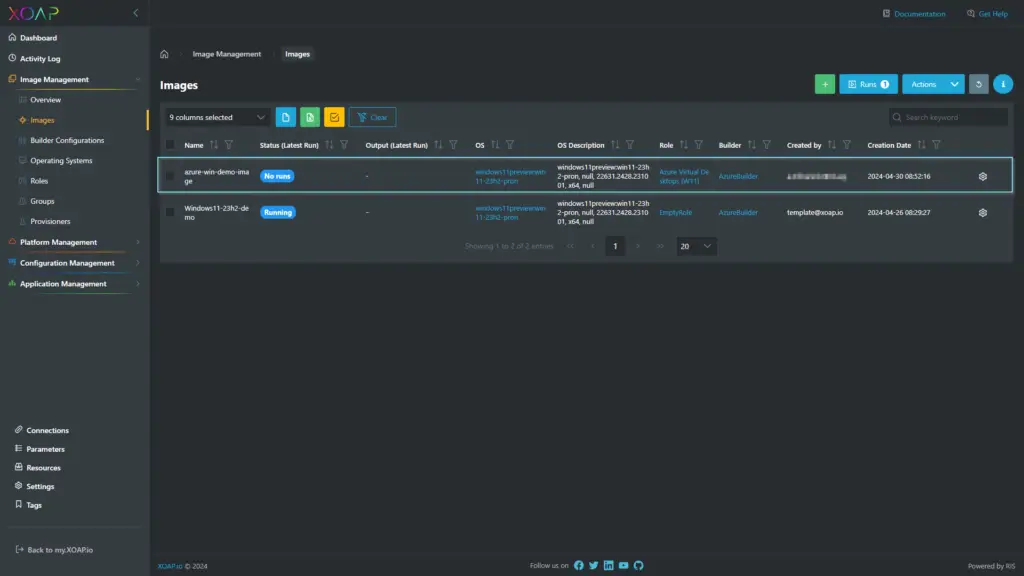
You should now see your newly created image.
Run images #
Navigate to the Images Section, click on the Action Menu and choose Run.
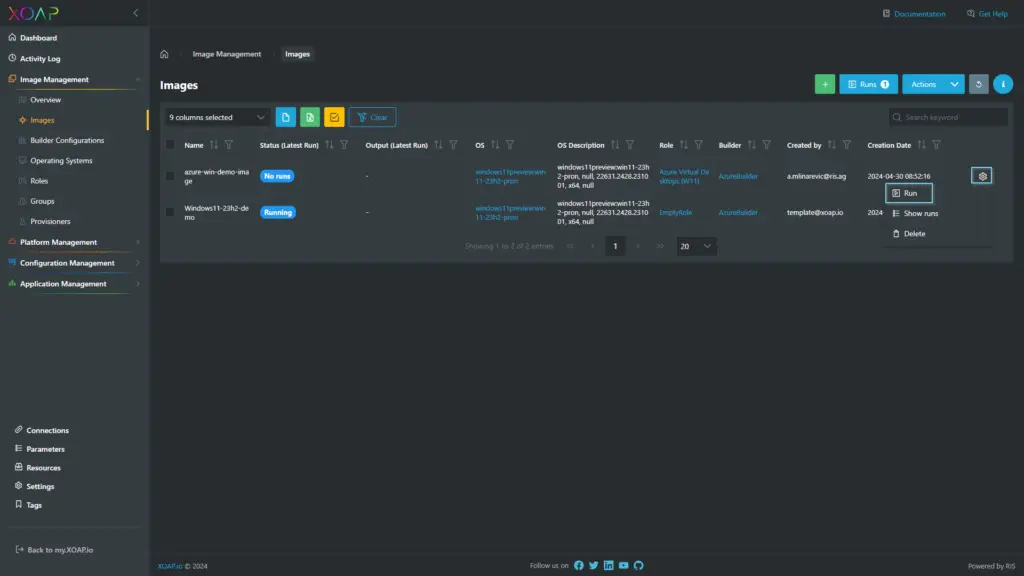
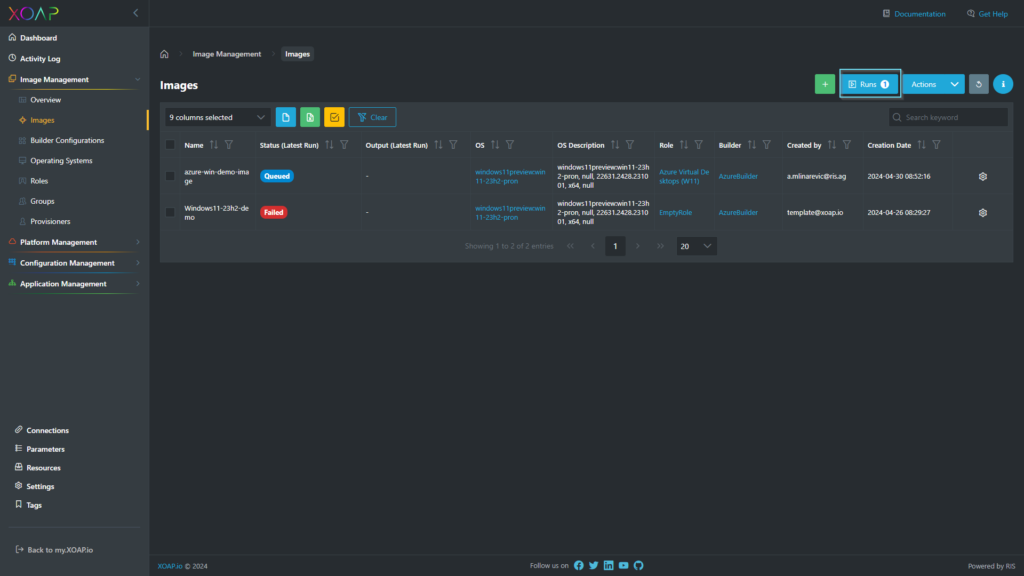
You can check the status of the current runs by clicking on the Runs button in the upper right corner
In the flyout, you can see the status of the current runs. If necessary, you can stop the runs and check the log files.
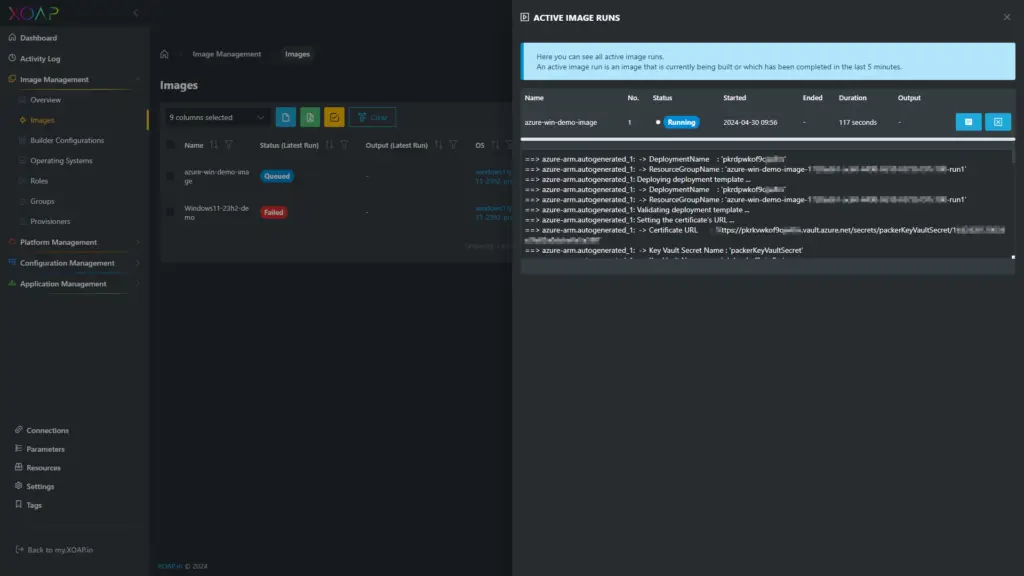
Images that finished will be removed within 5 minutes from the flyout. You can check all past runs by clicking on the action menu and choose Show Runs.
Remove images #
Navigate to the Images Section, click on the Action Menu and choose Delete.
This will delete all image artifacts from all past runs from your cloud account.


