What is Swagger? #
Swagger UI is an interactive documentation tool for REST APIs. It allows users to explore available endpoints, see required parameters, and test API calls directly from the browser — without writing any code.
What is it used for?
- Viewing available API endpoints and their request/response structures
- Understanding how to call the API (e.g., required headers, query params)
- Testing endpoints in real-time with actual data
- Getting auto-generated curl and request examples
Why is it useful? #
- No frontend required: Backend developers, QA engineers, or integration partners can test APIs even if the frontend isn’t available yet.
- Script-friendly: You can test an API call in Swagger, then use the same request format in tools like Postman, curl, or scripts (e.g., Python, PowerShell).
Swagger URLs #
You can access the Swagger UI below:
https://api.xoap.io/swagger/index.html
Authenticating in Swagger UI #
Once you’re on the Swagger UI page, follow these steps to authenticate and gain access to protected endpoints.
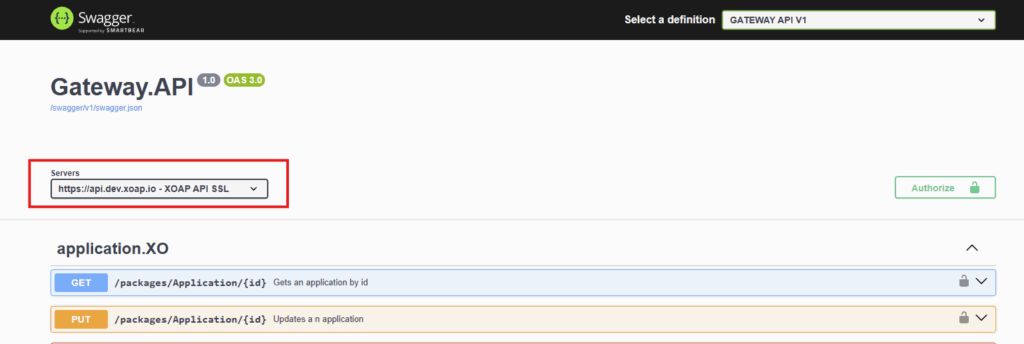
Select the API Server #
At the top of the Swagger UI, there’s a dropdown menu to select the API server.
Choose the option usually labeled: XOAP API SSL
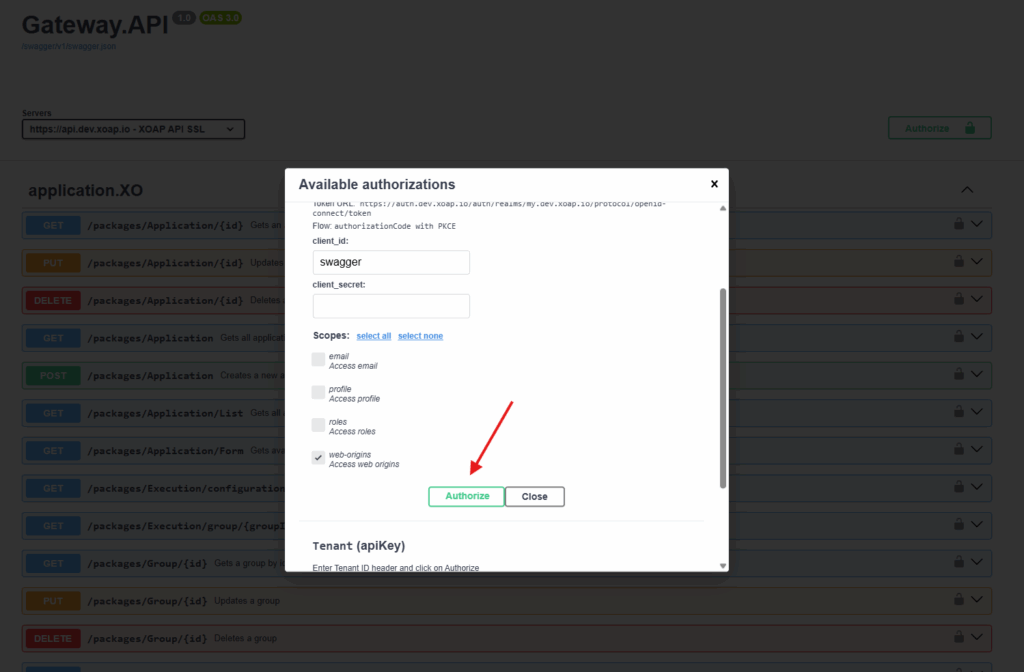
Click the Authorize button near the top right of the page. This opens a popup containing two sections:
- OAuth2 Authorization
- Tenant (apiKey) Header

Under the OAuth2 section:
- Click the Authorize button.
- You’ll be redirected to the XOAP login page.
- Enter your username and password.
- Upon successful login, you’ll be redirected back to Swagger, and the Authorization header will be automatically included in all requests.
Below the OAuth2 section, there’s a field for setting the Tenant header:
- Paste your Tenant ID into the input box.
- Click the Authorize button next to it.
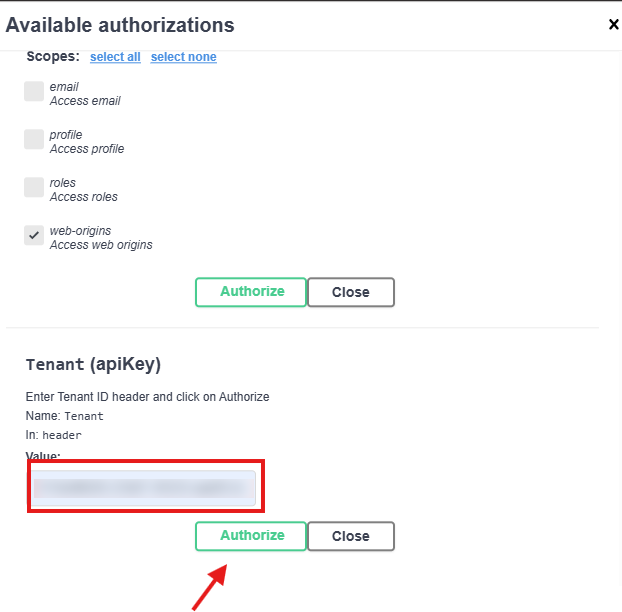
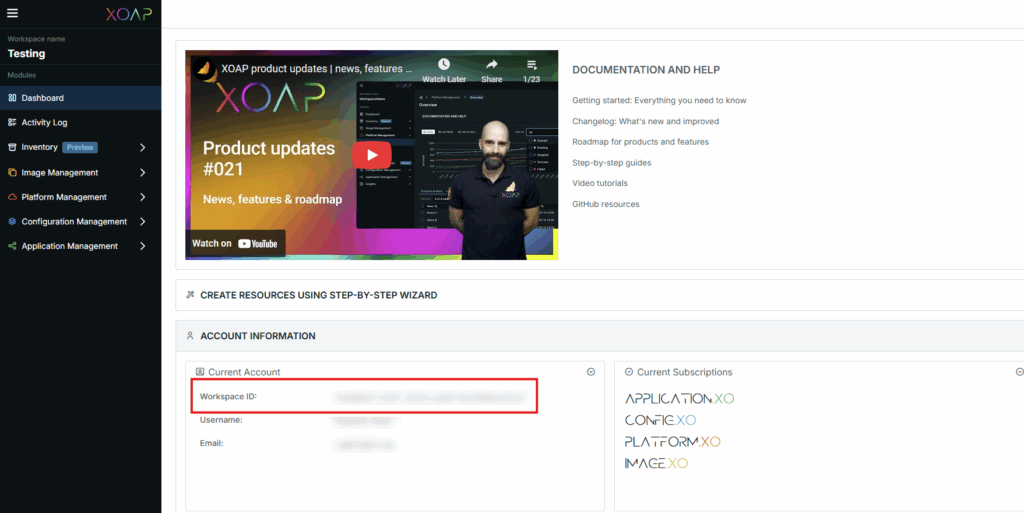
This step is required — our API uses the Tenant header to identify the workspace making the request. Tenant ID (also referenced as Workspace ID in some cases) can be obtained from app.xoap.io dashboard as shown here:
Once both authorizations are complete:
- The UI will show green checkmarks.
- You can now click “Close” on the authorization dialog.
- All your requests will now include the correct Authorization and Tenant headers.
You’re now ready to start using the authenticated API in Swagger!
Testing an API Endpoint #
Once authenticated, you’re ready to start exploring and testing the API. Find any available endpoint from the list (e.g., under a tag like Devices, Users, etc.), expand it, and click the “Try it out” button. After entering any required parameters (path, query, or body), click “Execute”.
Swagger will show both the request sent and the response received from the server.
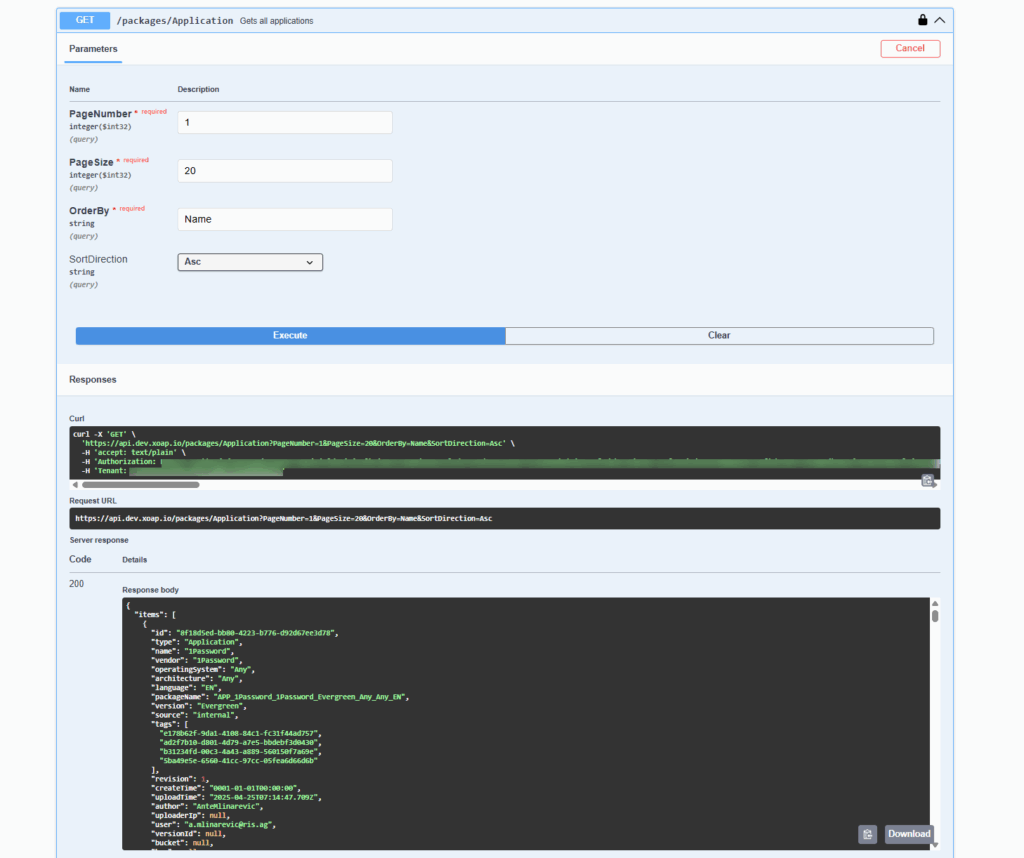
What you’ll see: #
- The full request URL
- Headers (including Authorization and Tenant)
- Request body (if applicable)
- HTTP response status (e.g., 200 OK, 401 Unauthorized)
- JSON response body from the API
This is a great way to verify that your credentials are working and to understand the structure of requests and responses before integrating into a script or application.
Now that you’ve tested the REST API in Swagger UI, you’re ready to integrate those calls into your own tools and workflows — whether via Postman, curl, or custom scripts.
This enables advanced users to experiment, test, and build their own automation or integration scripts using both API styles as needed.