Table of contents
Migrating from Windows 10 to Windows 11 isn’t just about installing a new version. It involves checking your devices, making sure apps work, and managing the user experience. Without the right tools, this can be a tricky process.
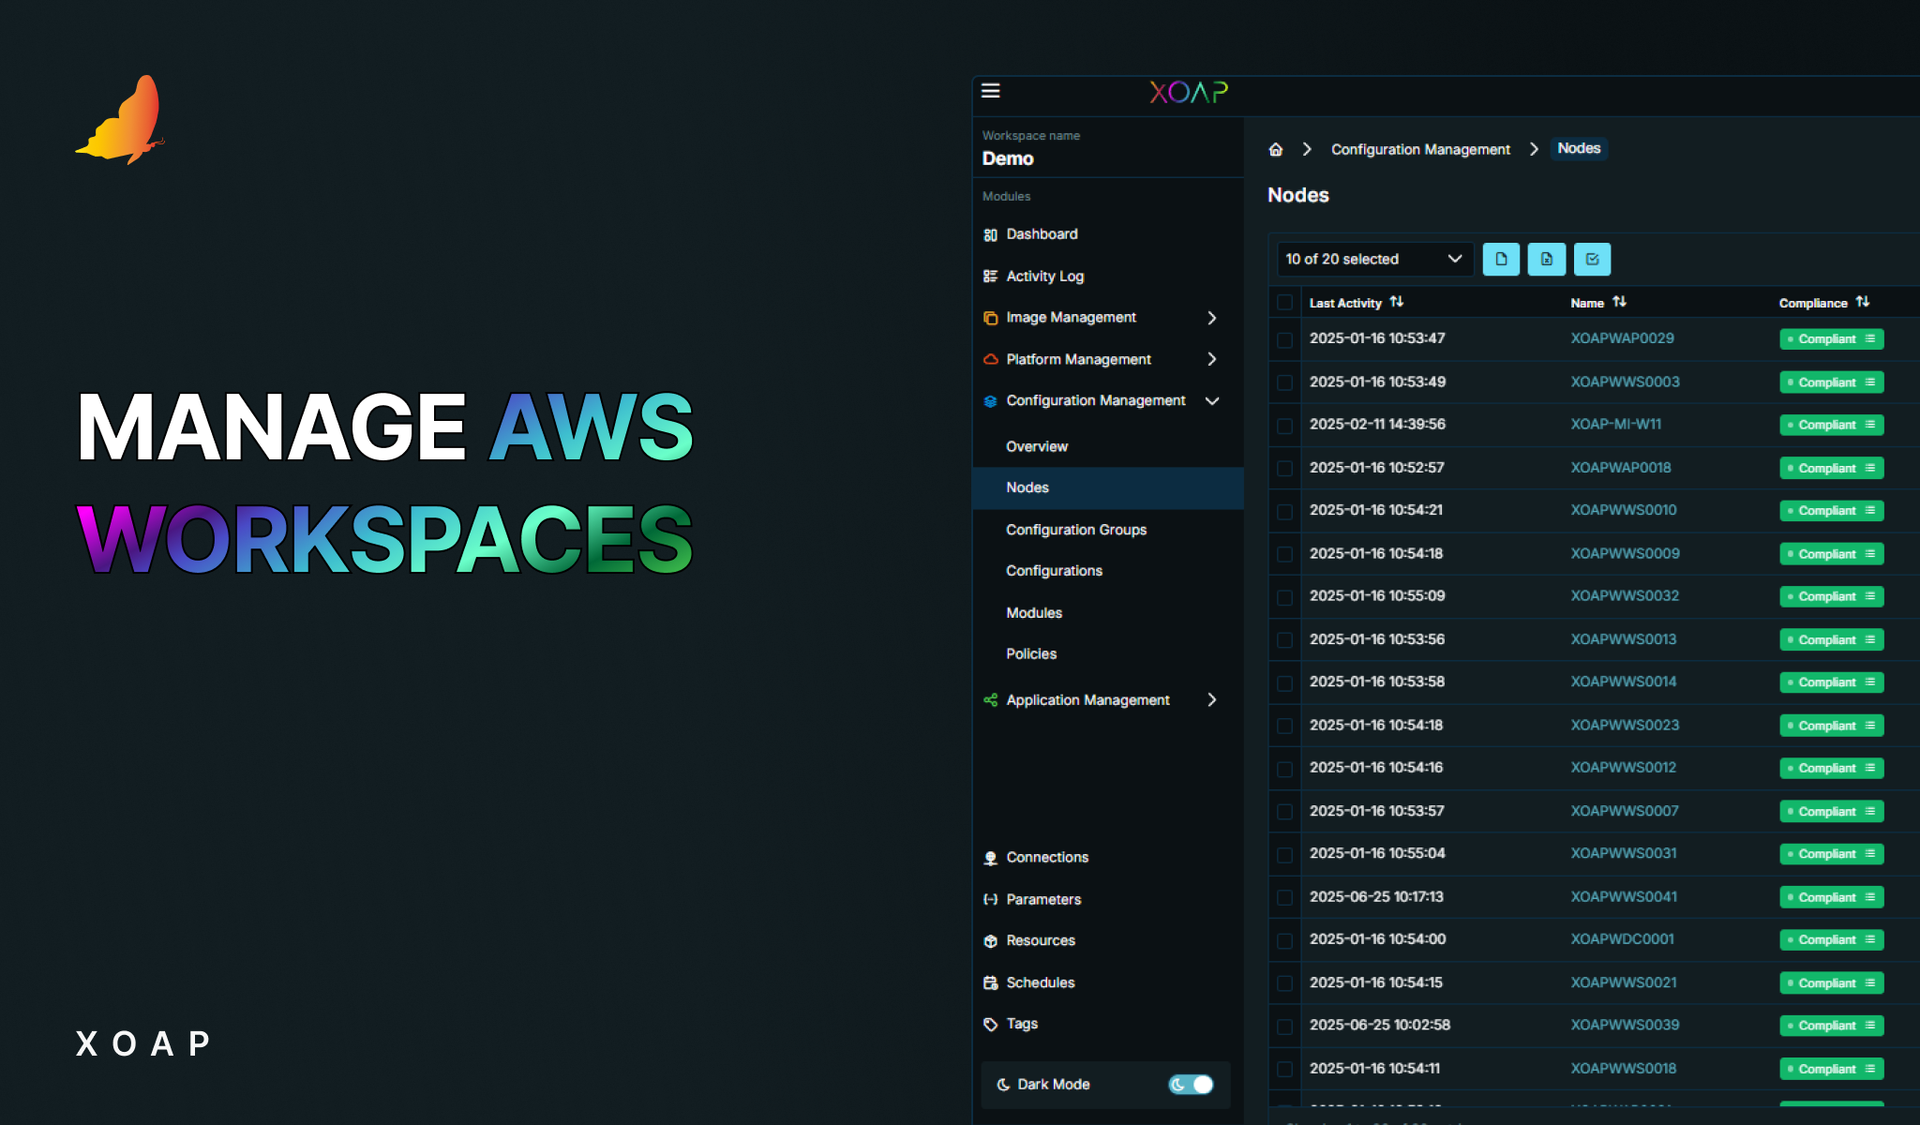
XOAP gives you a platform to handle all of it. Whether you’re working with a handful of devices or thousands, XOAP provides the right tools for imaging app deployment and system configuration.
Check upgrade readiness
Before you begin, make sure your devices meet these basic requirements:
- Devices need to be running a supported version of Windows 10.
- They must meet the minimum hardware requirements for Windows 11.
- Secure Boot should be turned on in the BIOS, and TPM 2.0 should be available.
- Use the latest drivers for Windows 11 to avoid issues like Blue Screen errors.
Tools for checking device eligibility
Use these tools to check if your devices are ready for Windows 11:
Windows Update in Settings
Windows 11 migration phases
We’ve outlined the migration process in three main phases below. For a quick guide on what it takes to migrate devices to Windows 11, check out this blog: Windows 11 migration made easy with XOAP.
1. Pre-migration
This phase is all about getting everything ready before upgrading. Check your hardware and drivers, test your apps for compatibility, prepare your Windows 11 images, and confirm that all system settings are correct. XOAP’s tools can help you run these checks automatically.
Start by checking hardware and drivers across all devices. XOAP’s reporting and scripting tools can help you automate these readiness checks and spot any issues early. Next, test application compatibility using the Application Management module to identify apps that may need updates or adjustments.
Prepare your Windows 11 images with Image Management, making sure they include the right settings and software. Review Group Policy settings and system configurations, and use Configuration Management to automate these checks. Finally, use the same tool to apply security baselines and hardening policies so that all systems meet your organization’s compliance standards.
2. Migration
Now it’s time to actually deploy Windows 11.
Pick a deployment method (Autopilot, SCCM, Intune, PSADT, or XOAP) and test it first. Then use XOAP to handle app installs and system settings across all your devices.
Blog article continues below
Read the full tutorial: How to migrate to Windows 11 with XOAP
3. Post-migration
Once Windows 11 is installed, it’s time to make sure everything works as it should.
Run clean-up tasks like removing temporary files, updating apps, and checking system settings. XOAP can automate these tasks to save time.
Custom actions let you run specific tasks like removing Windows.old folder, installing missing language packs, or managing app compliance using scripts in XOAP. This can greatly improve your migration strategy, especially when you’re not using SCCM task sequences.
What this means for your team
Migrating to Windows 11 is a good time to review how your systems are managed. It’s not just about getting to the latest OS – it’s a chance to clean up old processes, fix what’s slowing things down and set up a simpler way to handle future updates.
Look at what worked, what didn’t and where automation or better visibility could save time. A solid approach now will save you from scrambling later.
Our platform can help you simplify that process. By automating key tasks and providing better insights, it makes future updates easier to manage.