Table of contents
Our Image Management module (image.XO) is one of the most popular XOAP modules. And that’s not surprising! Why, you may ask? Because it allows quick creation of operating system image templates using different functions combined in groups and roles.
One of the greatest benefits of image.XO is that we can use the same function sets to configure and deploy images on the two biggest cloud providers – Azure and AWS. More information about Image Management can be found on our Docs page.
In pursuit of continuous improvement, we decided to:
Dynamically show all possible AWS and Azure regions and the available operating systems and instance sizes.
Now you can select thousands of different operating systems per cloud provider. To make it easier for you, we also implemented some new filter options to help you tackle the amount of operating systems.
Whether you are trying to create image templates for Azure Virtual Desktops, Windows Server environments or Linux-based workloads, we’ve got you covered. 😎
See it in action 👇
If you haven’t done it already, create your free XOAP account. Once your Workspace is ready, navigate to Image Management → Operating Systems.
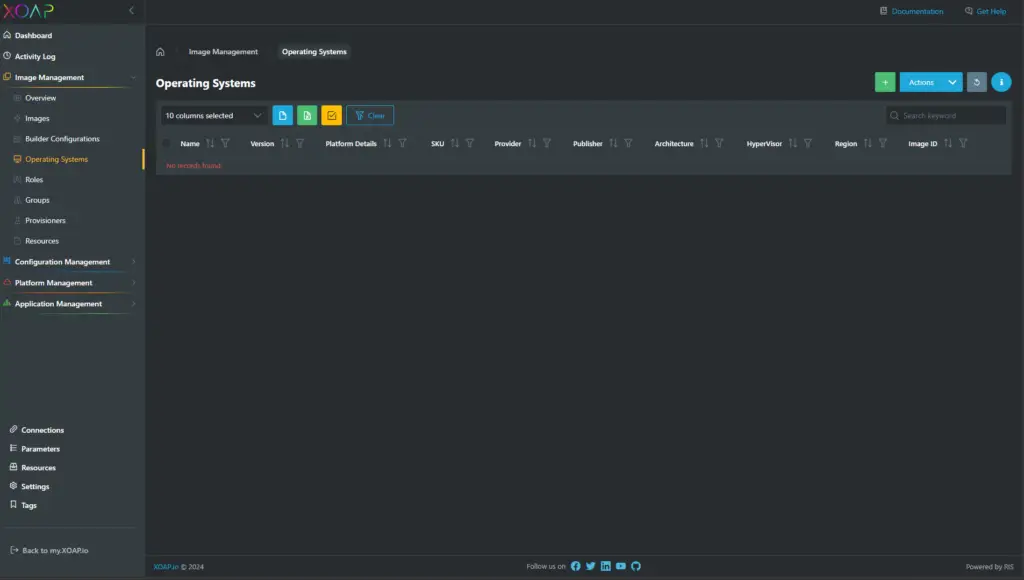
In the upper right corner click the green + button to add a new operating system entry to your list of operating systems.
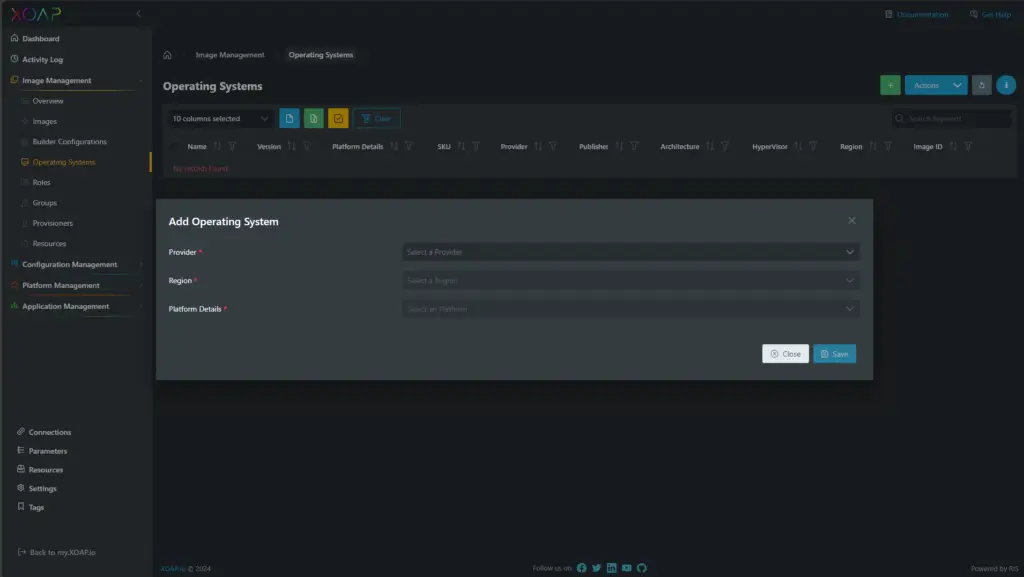
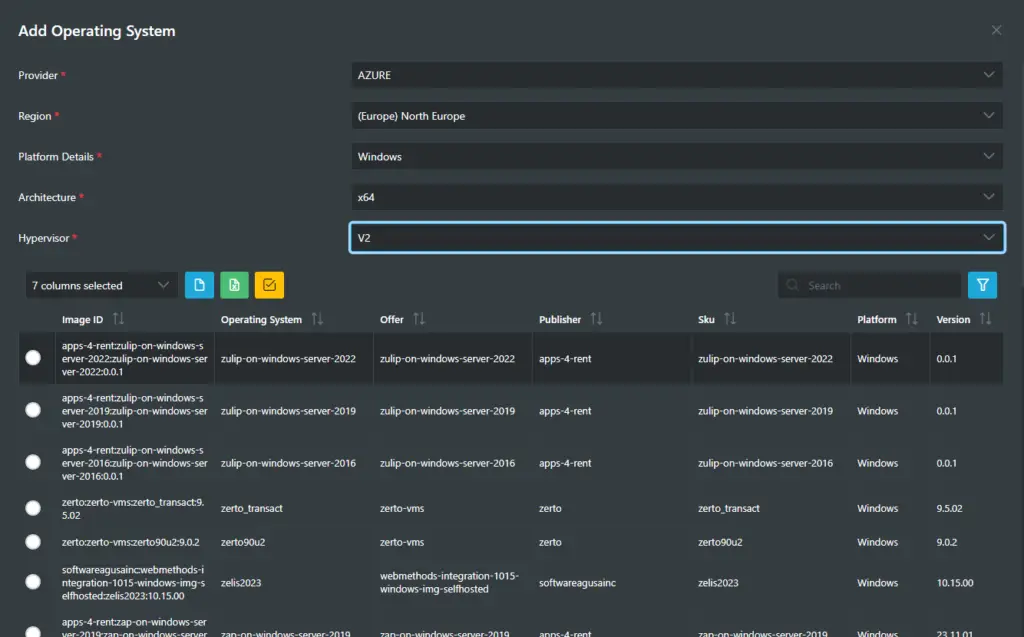
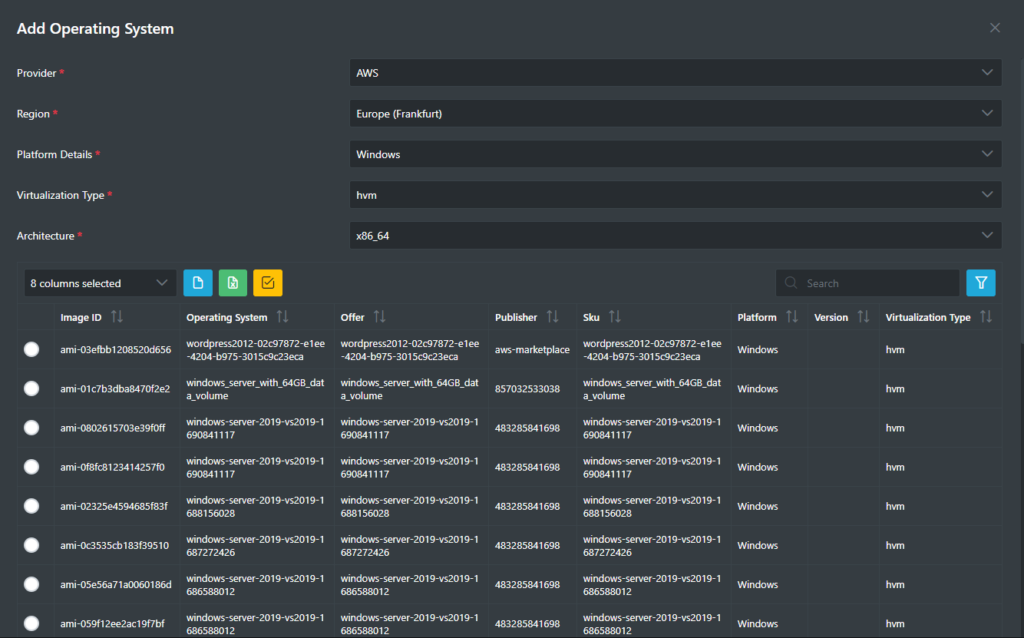
Select your preferred cloud provider, Azure or AWS. Depending on the selected provider, Region, Platform Details, Virtualization Type and Architecture you will have different amount of options available.
The following Azure example shows 3532 entries:
And the AWS example shows 7954 entries:
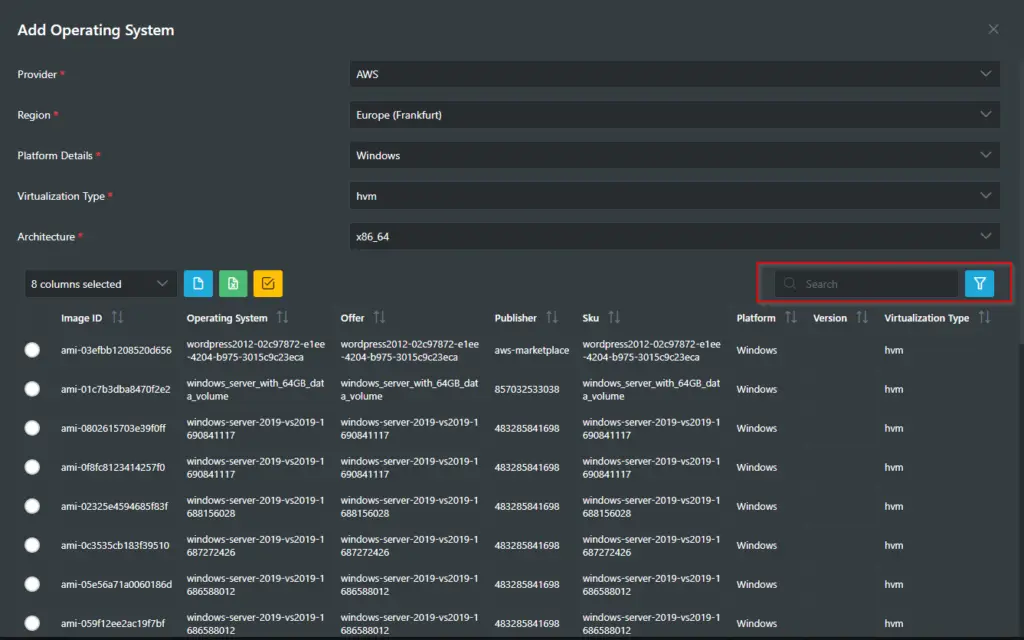
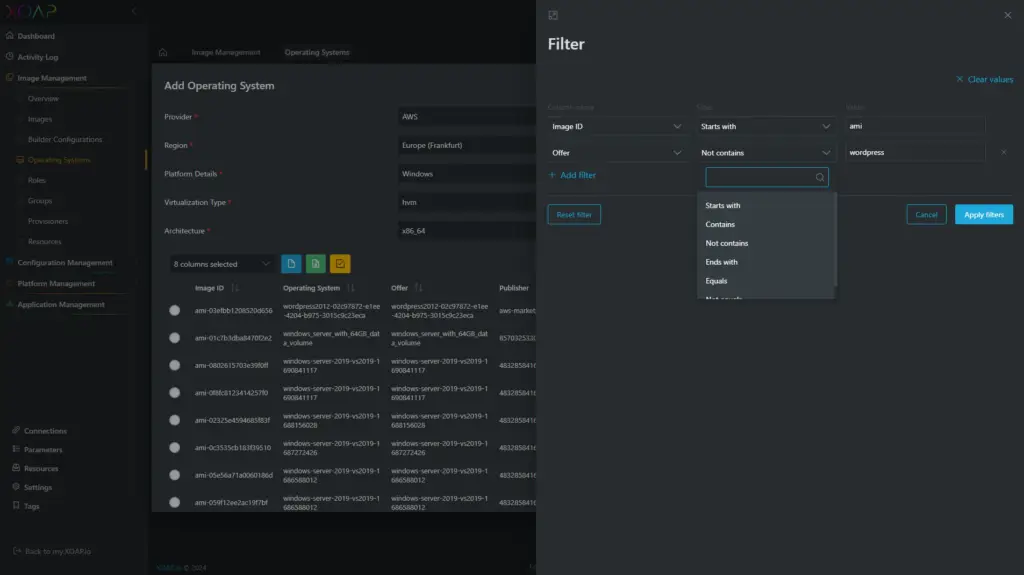
As this is still a huge amount of data, we implemented a simple search and an advanced filter option. The simple search is looking for a text in any column of the shown data table, and with the advanced filter, you can narrow your results down to the desired operating system.
The advanced filter lets you define different filter types per column. This enables a lot of options when searching for the exact entry. When you’re done configuring your filter, click Apply filters to show the filtered list.
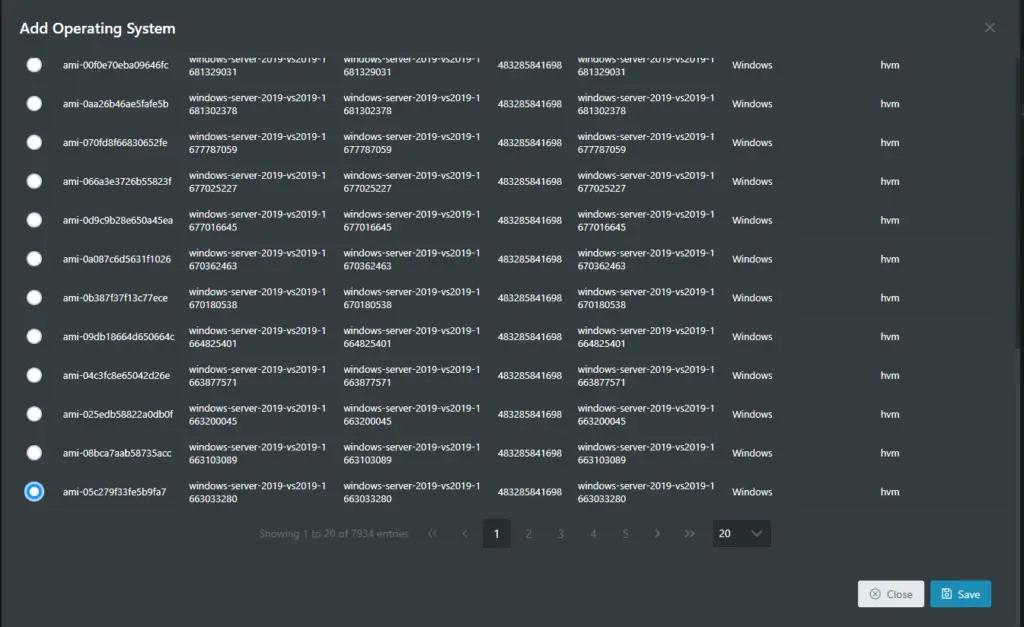
The last thing to do is to select the desired operating system entry, scroll down and click Save.
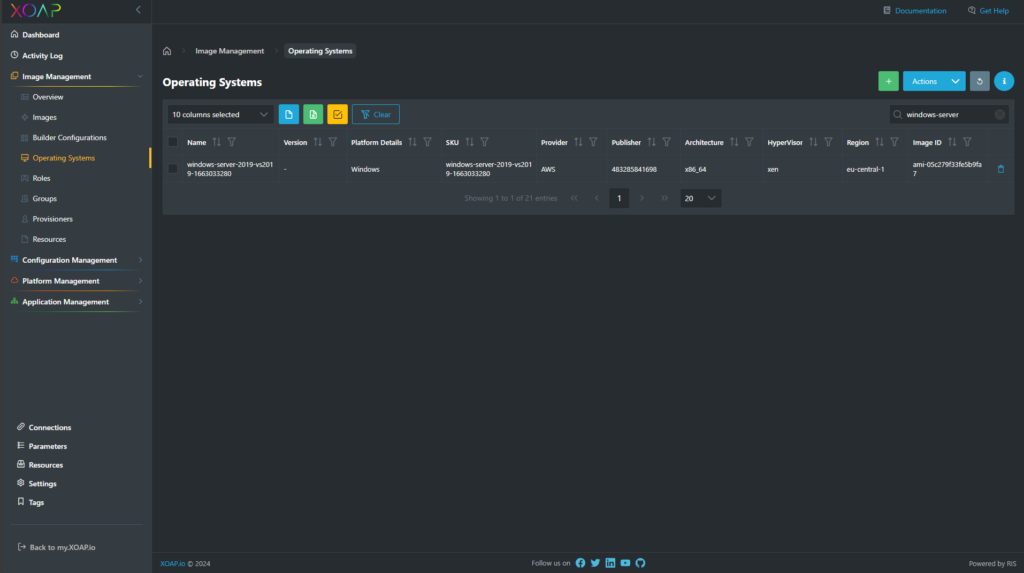
Once saved, your OS will be visible in the operating systems table. This way you can configure your library of operating systems that you can customize to your own needs.
This tutorial is also available as a YouTube video.
Check out our YouTube channel for more videos like this!
A powerful tool at your fingertips
With the availability of the Azure and AWS marketplace images, you have new possibilities in image provision.
Now, you can select one of the many available operating systems. This will help you cover all of your unique use cases. In combination with the dynamic regions, instance sizes and the latest updates to the builders and provisions, you have a powerful tool at your fingertips. 🚀
And the best thing about it – there’s no need to code anything to automate your image build. XOAP handles it all! If you want to learn more or need additional help with Marketplace images book a demo.
