Table of Contents
Want to create PSADT packages really fast? XOAP’s no-code PSADT Package Wizard (free to use, with or without XOAP) simplifies the process, offering standardization, versioning and documentation.
In this tutorial, we’ll show you how the XOAP Package Wizard works, using Adobe Acrobat Reader DC as an example. We’ll also compare the process of package creation and deployment with XOAP and SCCM step by step. ⚡
Getting started
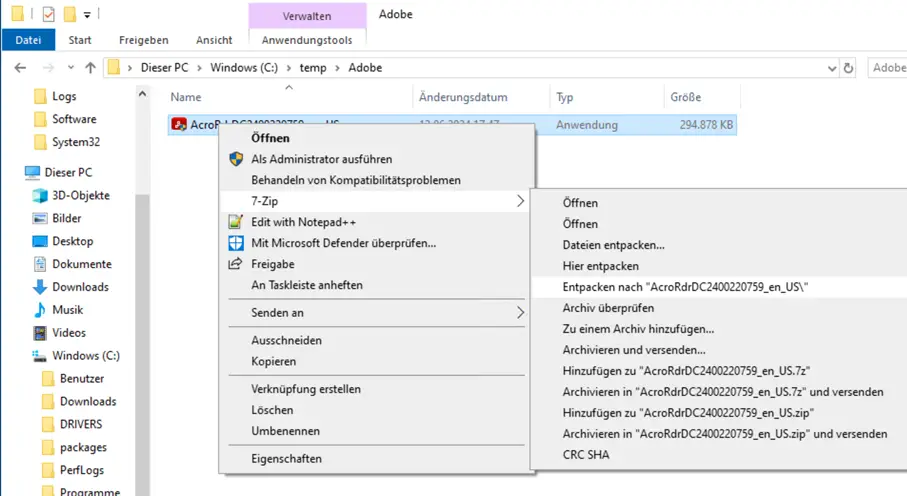
Download the latest Adobe Reader version from Adobe’s website.
Unzip the downloaded file using an extractor.
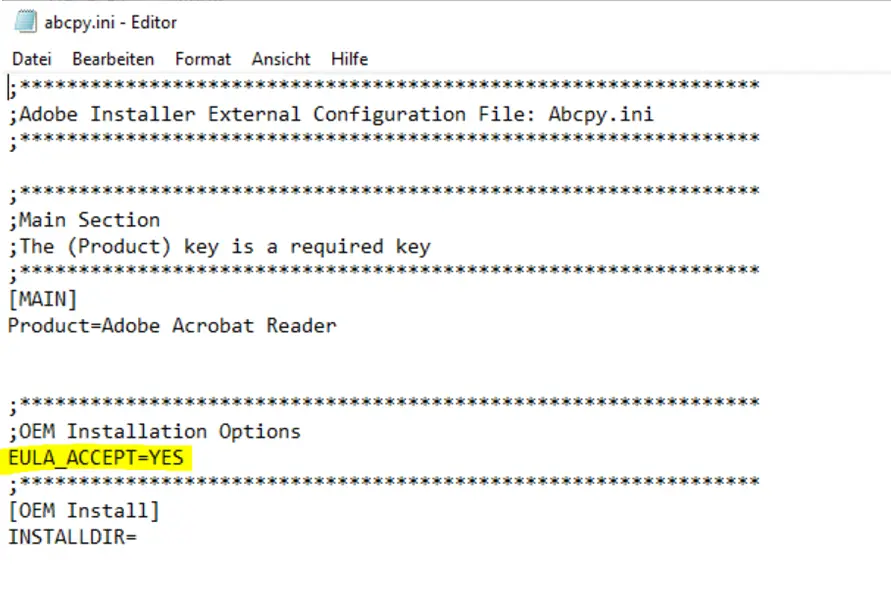
Open the file “abcpy.ini” in the unzipped directory. Enter the value “EULA_ACCEPT=YES” under “OEM Installation Options” and save the file.
All preparations are now complete. Moving on to packaging with the XOAP Package Wizard.
Packaging software using the Package Wizard
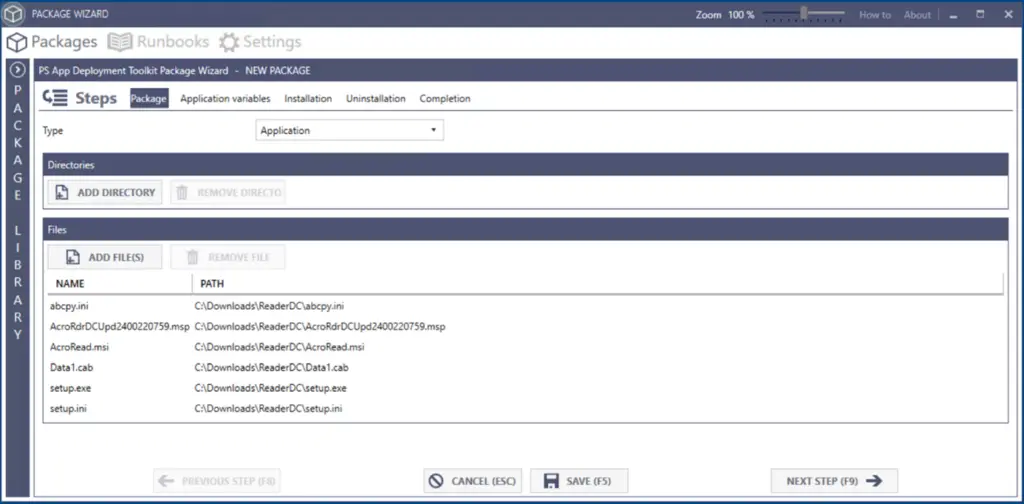
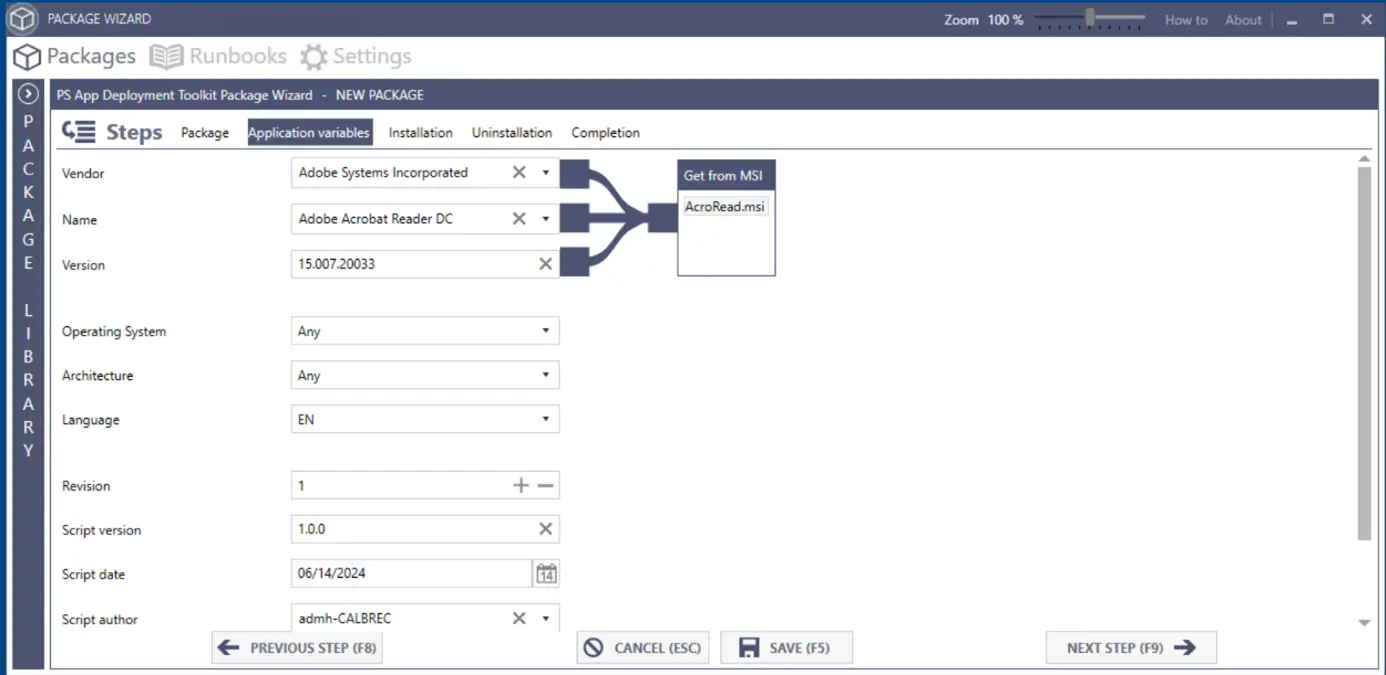
In the XOAP Package Wizard, first add the required files from the extracted folder.
On the second page, accept the ‘Application variables’ that are automatically read from the MSI.
Click on ‘Next step’ to switch to the Installation tab.
In the ‘Toolkit Function Builder’ > ‘Choose a function’, search for MSI and select ‘Execute MSI’. Under ‘Choose the parameters’ select Action, Path and Patch.
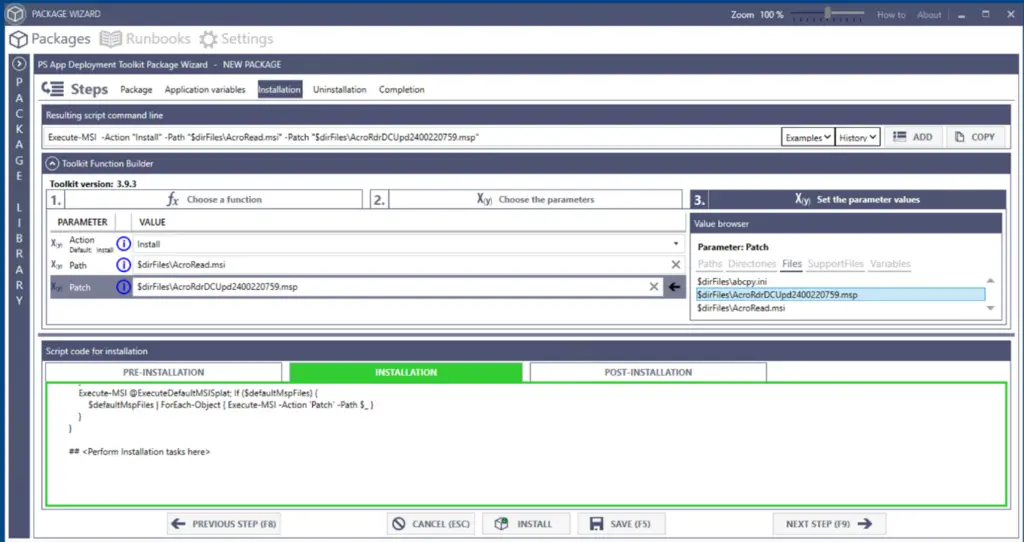
Once everything has been entered, add the function to the script.
Click on ‘Next step’ to switch to the configuration of the ‘Uninstallation’ phase.
Select ‘MSI’, ‘Path’ and ‘Action’ again and click ‘Add’ to add the script.
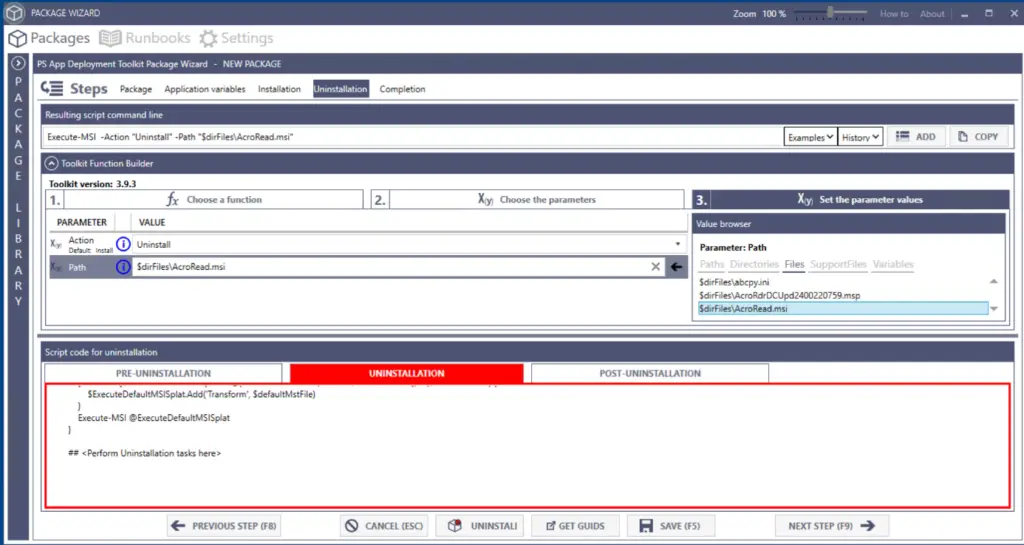
Save the project and you’re done. ✅
Deploying PSADT packages with XOAP vs. SCCM
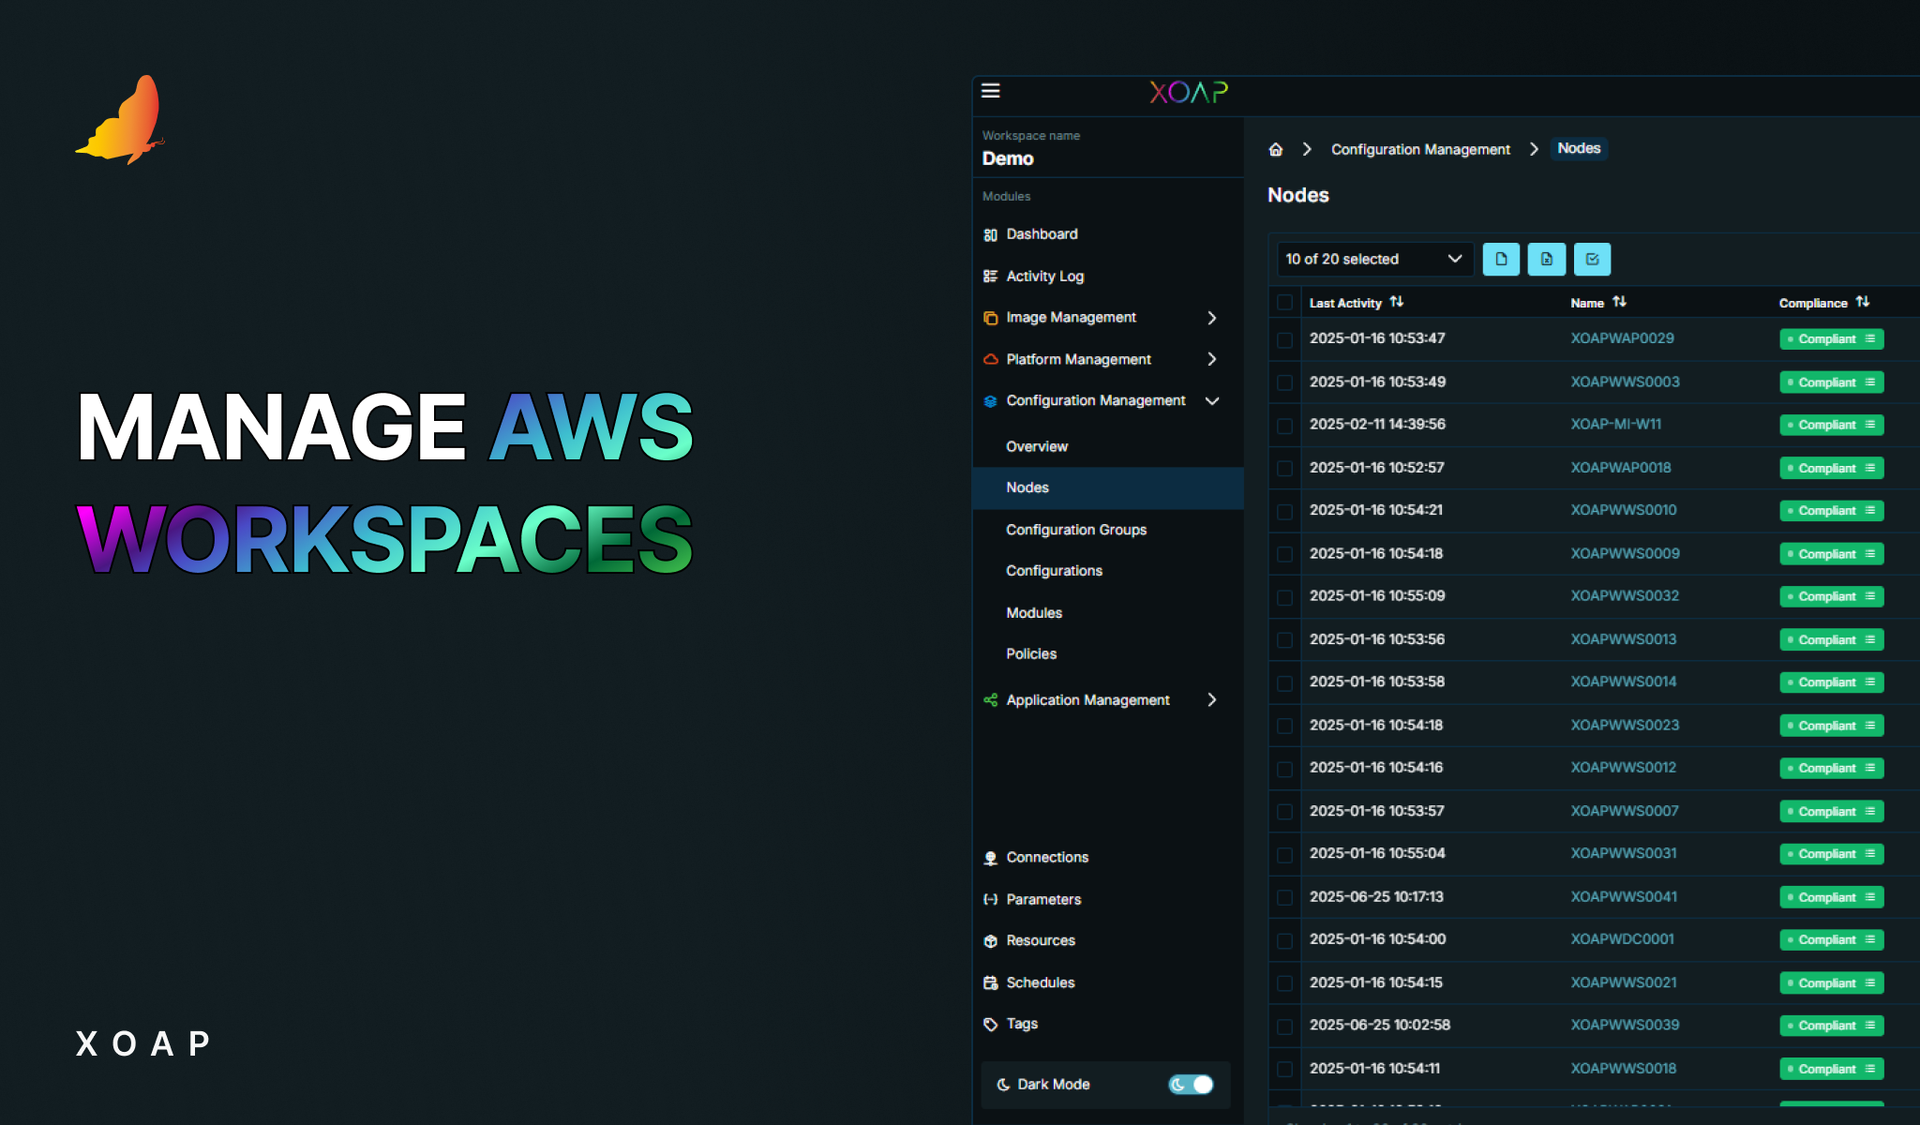
If we go a step further and head to the XOAP platform, the Application Management module offers a wide range of possibilities and powerful features when it comes to software packaging and deployment.
Here’s how it compares to SCCM.
🟢 Key differences
SCCM is specifically tailored for enterprise environments with complex infrastructures and delivers a wide range of functions and possibilities. It requires:
- a maintained SCCM infrastructure
- specialized knowledge to run and operate the entire environment, including different infrastructure roles and databases.
XOAP, on the other hand, offers flexibility and supports growing infrastructures, especially when it comes to small, medium and enterprise customers who want an easier application deployment process.
🟢 XOAP deployment
First, we’ll try deploying software with XOAP.
Once your package is ready, you can easily upload it to your XOAP workspace. To prepare the upload process, use our script to zip the application folder created by the wizard.
Log in to your workspace and go to Application Management > Applications. To upload your package, click the green plus button.
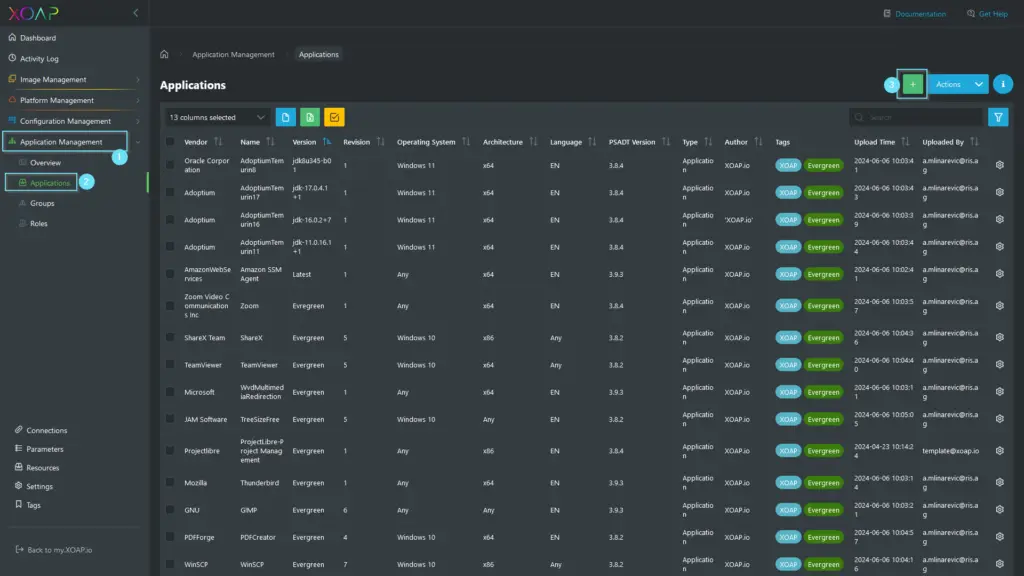
Upload your package in the ‘Add Application’ window. In the same window, you can define tags and select overwrite settings if needed.
When you are ready, just click ‘Save’ and wait for the upload to finish.
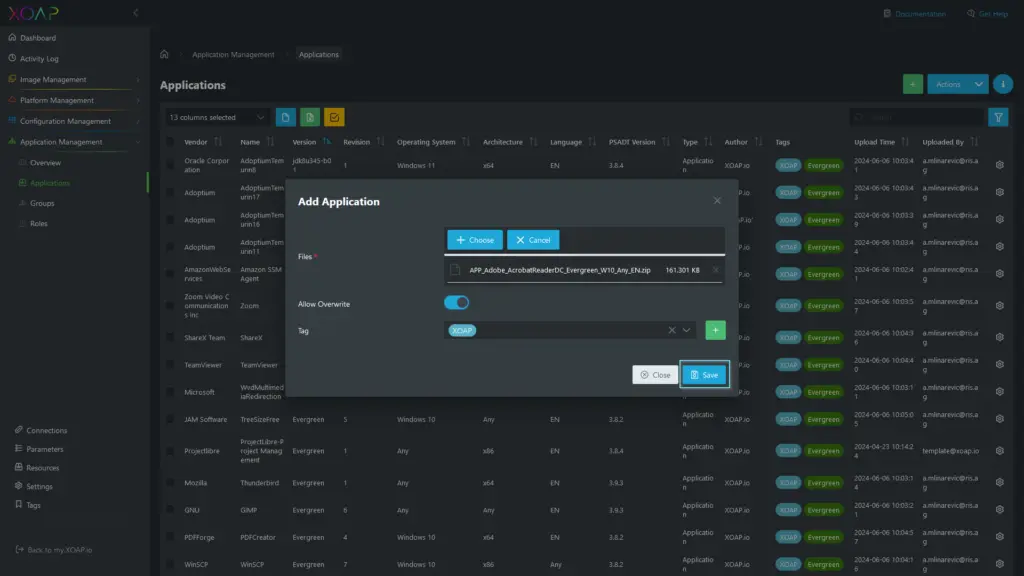
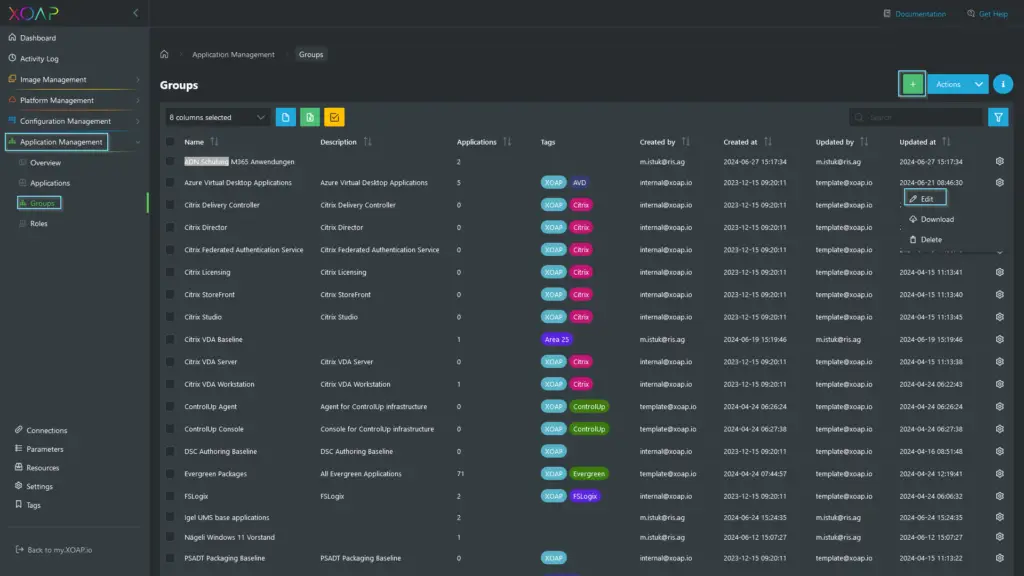
Once uploaded, click ‘Close’ to exit the ‘Add Application’ window. Go to Application Management > Groups.
To add an application to an application group, click the plus button to create a new group or edit an existing one by selecting ‘Edit’ from the action menu.
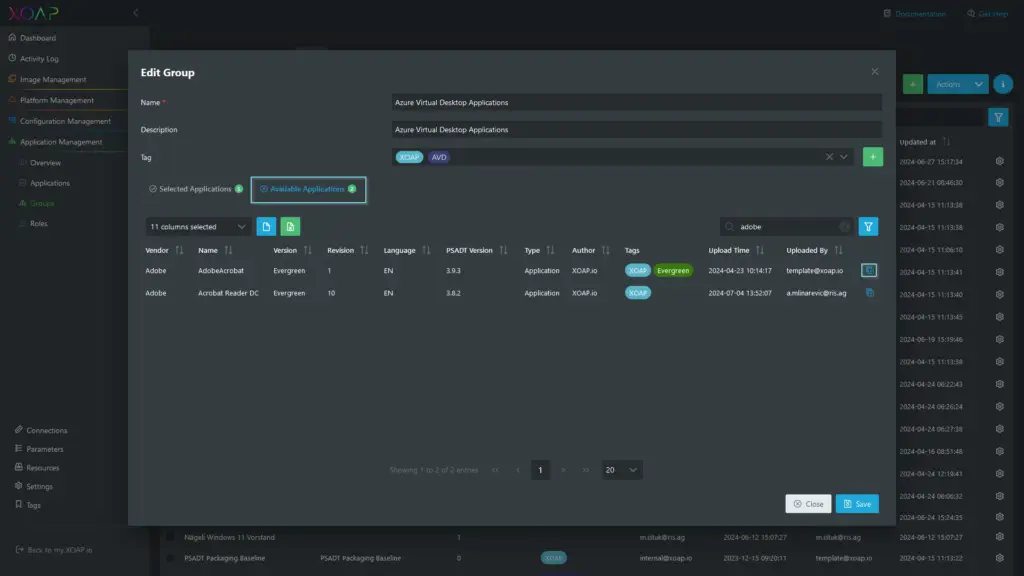
In the ‘Edit Group’ window, under ‘Available Applications,’ find the uploaded application and click the plus button to add the application to the group.
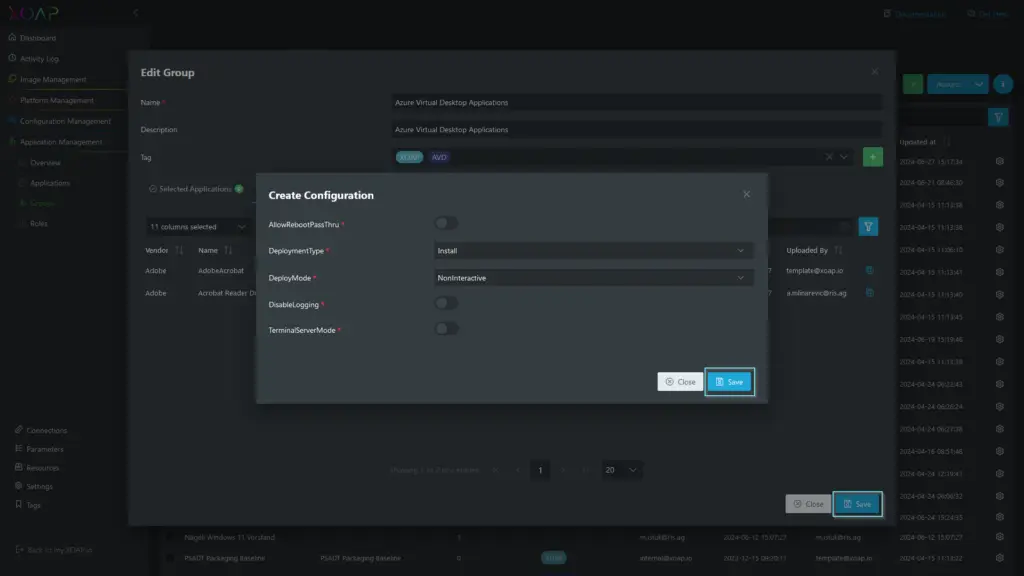
Clicking the plus button will open the ‘Create Configuration’ window. Here, you can configure the installation settings of your package.
When ready, click ‘Save’ in the ‘Create Configuration’ window.
Click ‘Save’ again in the ‘Edit Group’ window to finish editing the group.
If you edited an existing group, you are ready. If your application Role is assigned to a configuration management group, your application will be installed on your nodes during the next policy interval.
In case you created a new group, you should add the new group to the application Role. More information on how to do that can be found on our documentation page and YouTube channel.
🟢 SCCM integration and deployment
Next, we’ll see how it’s done with SCCM.
Run the SCCM console and start a new application under Software Library.
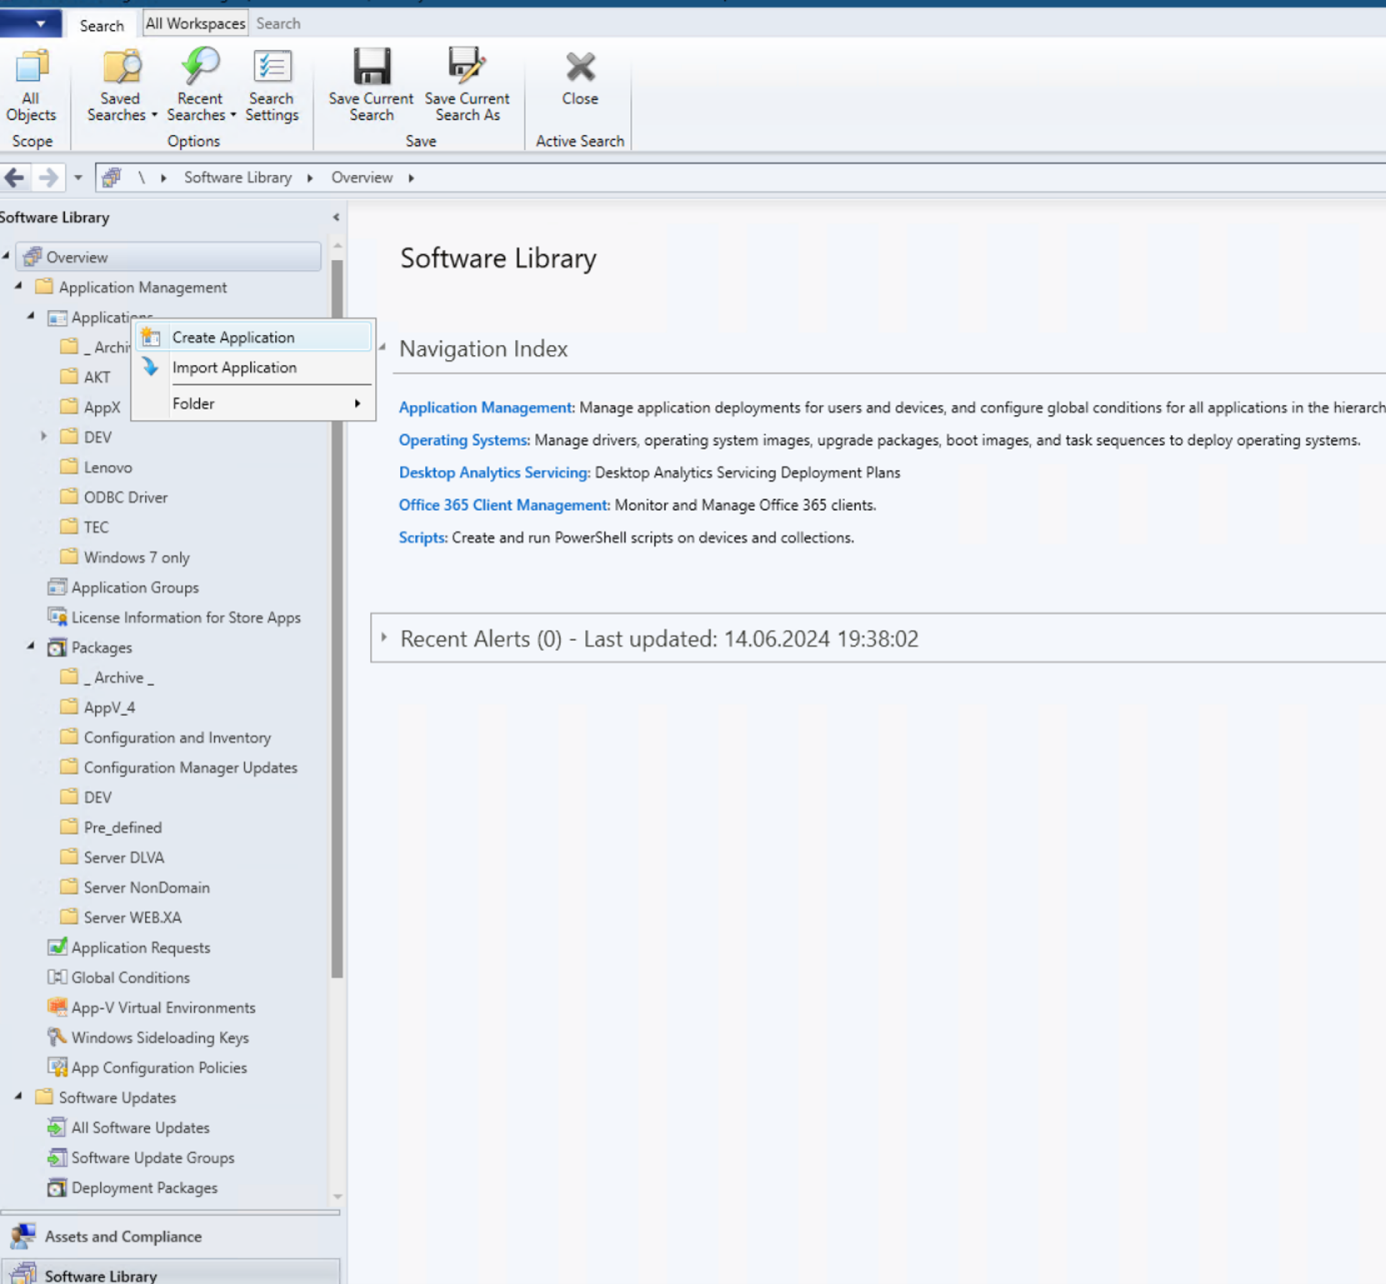
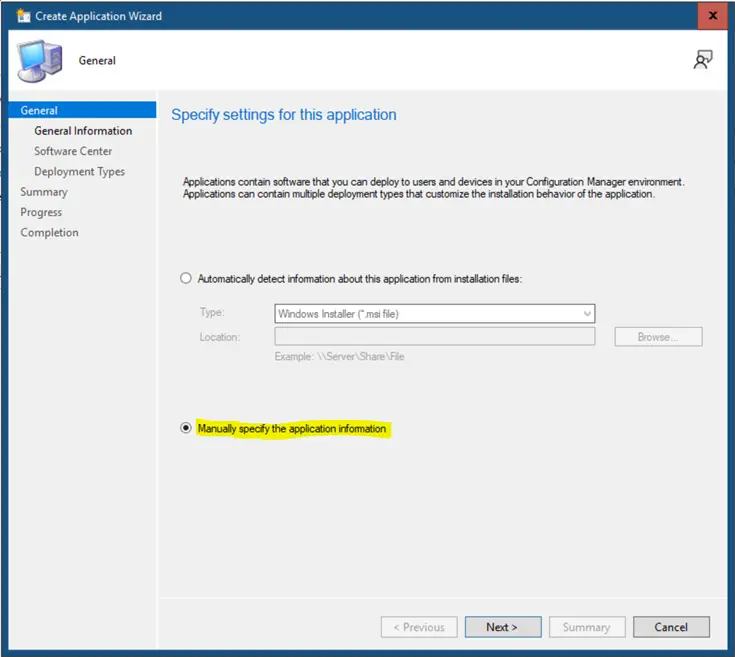
In the wizard that opens, select ‘Manually specify the application information’.
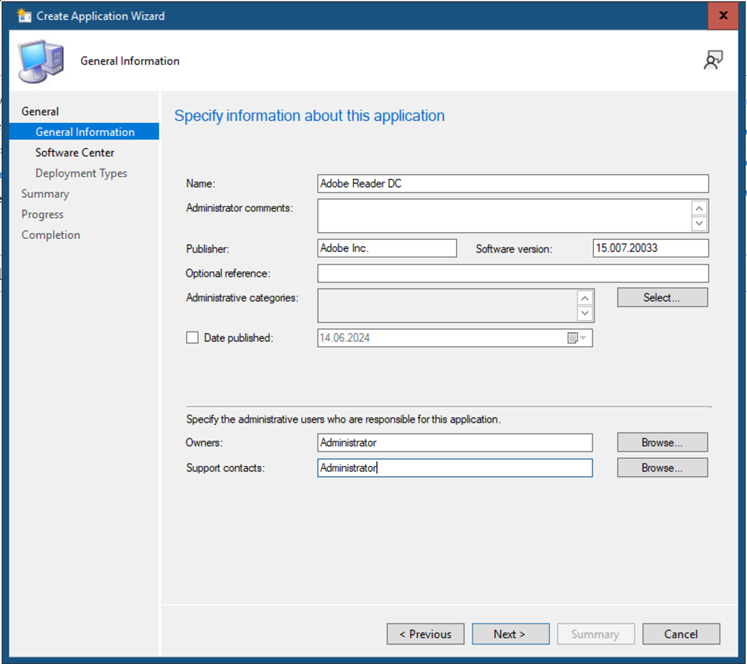
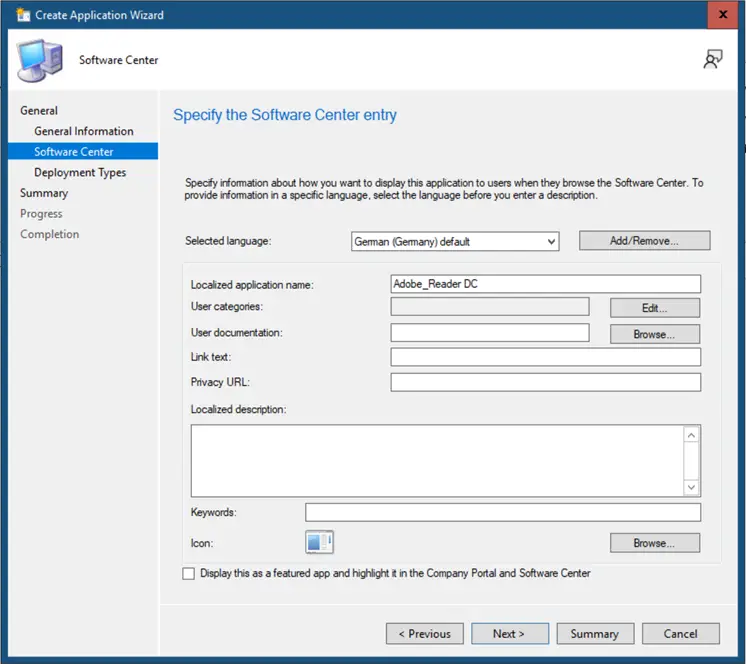
Enter the application information.
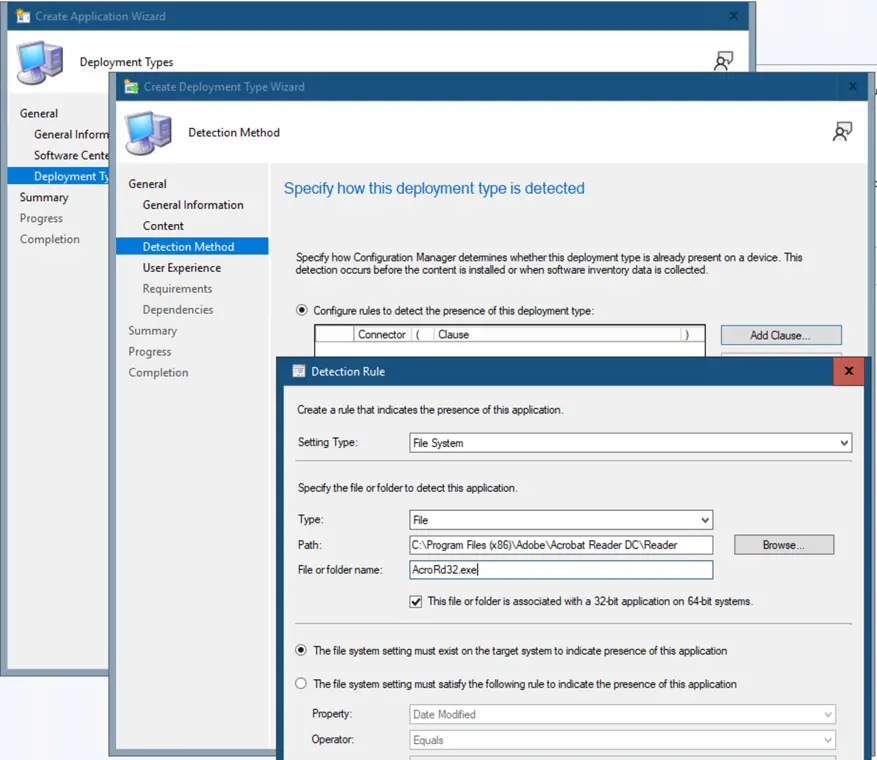
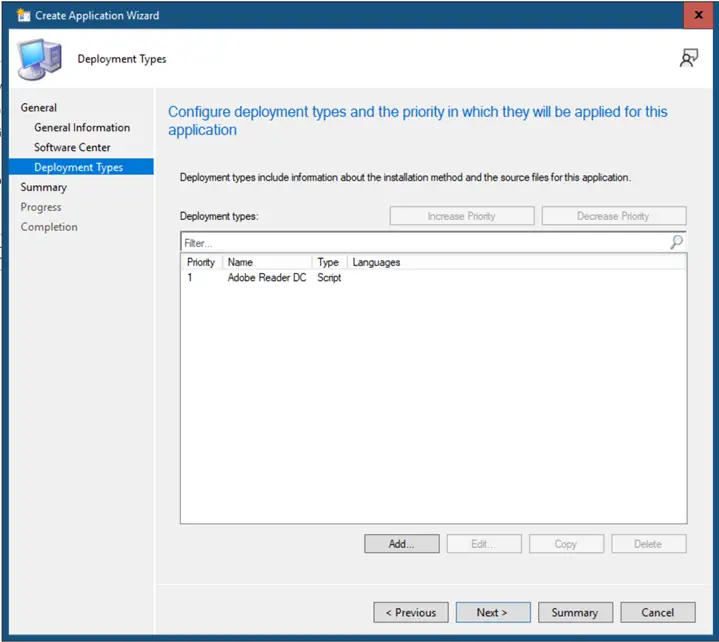
On the next page, under ‘Deployment Types’, click ‘Add’ to open another wizard.
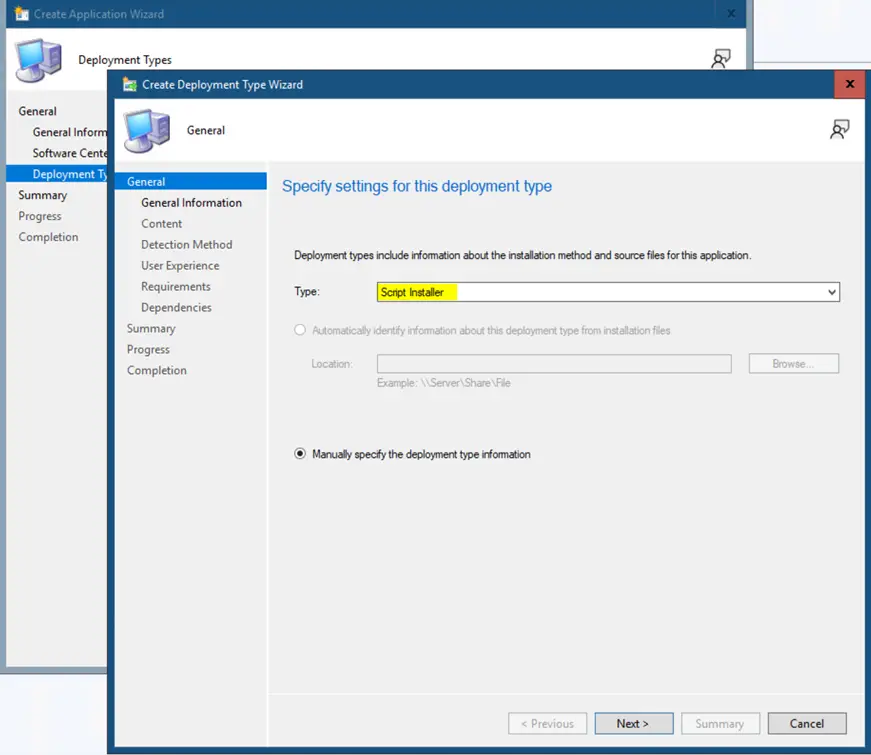
Select ‘Script Installer’ under Type and click ‘Next’.
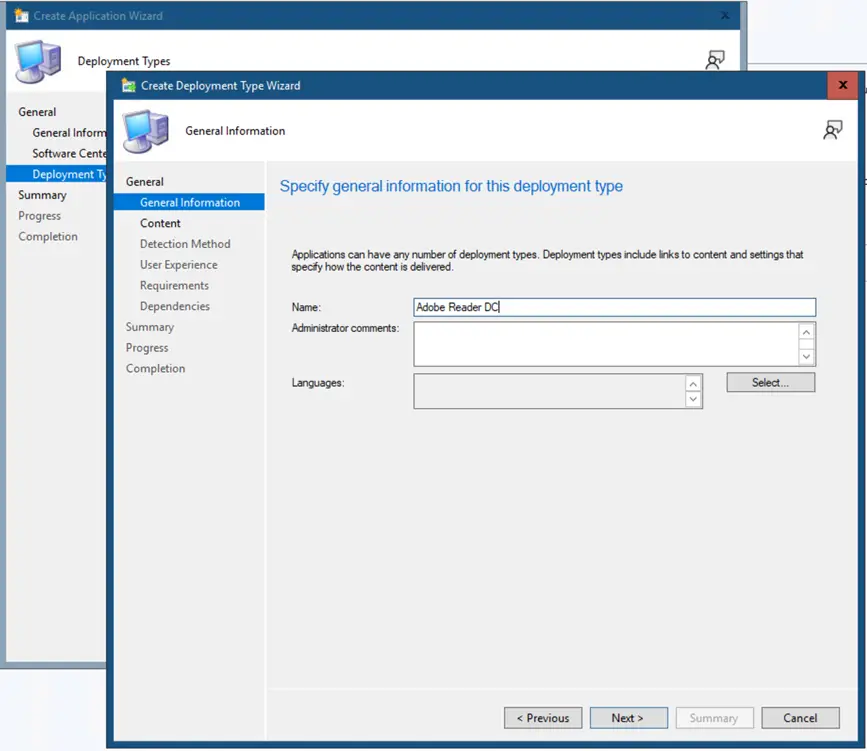
Enter the name.
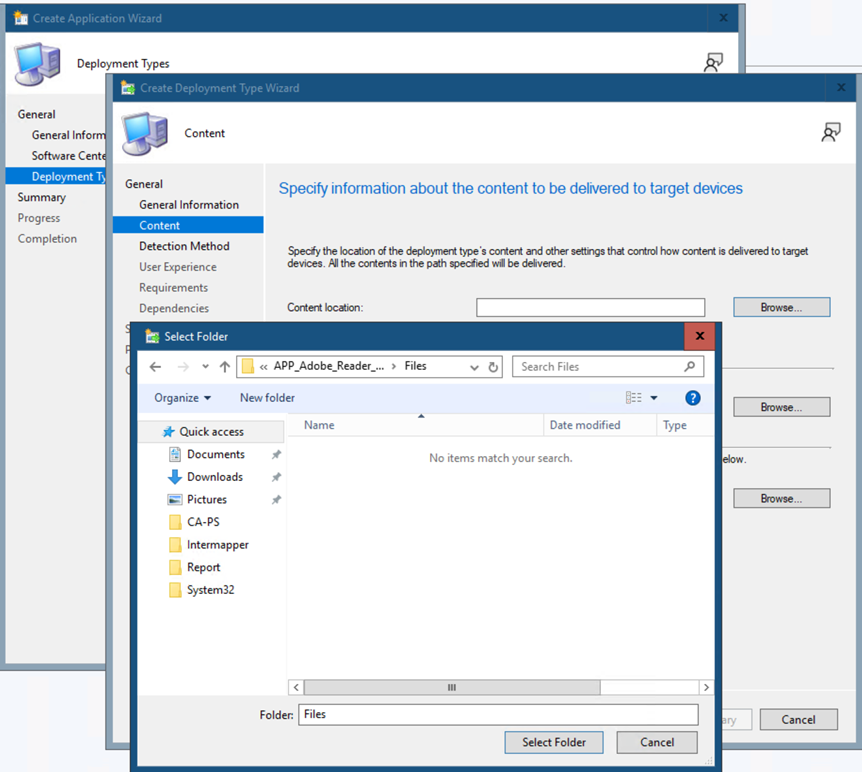
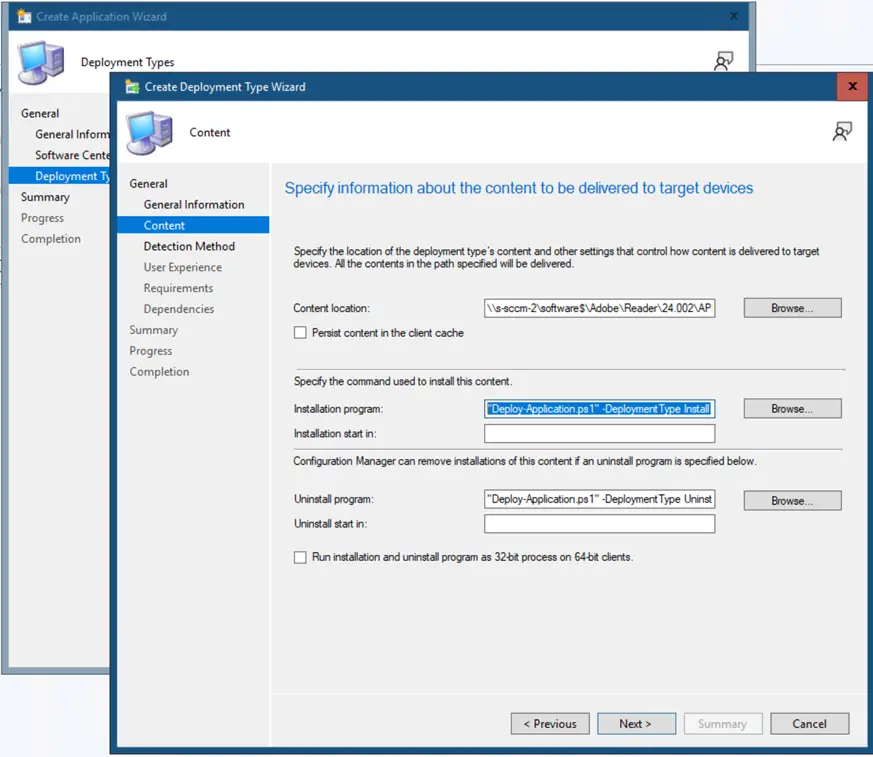
Enter the path to the package under ‘Content location’.
Under ‘Specify the command used to install this content’, enter “Deploy-Application.ps1” -DeploymentType Install.
Under ‘Configuration Manager can remove installations of this content if an uninstall program is specified below’ enter “Deploy-Application.ps1” -DeploymentType Uninstall.
Under ‘Detection Method’, simply enter the path to the installed start file on the target client.
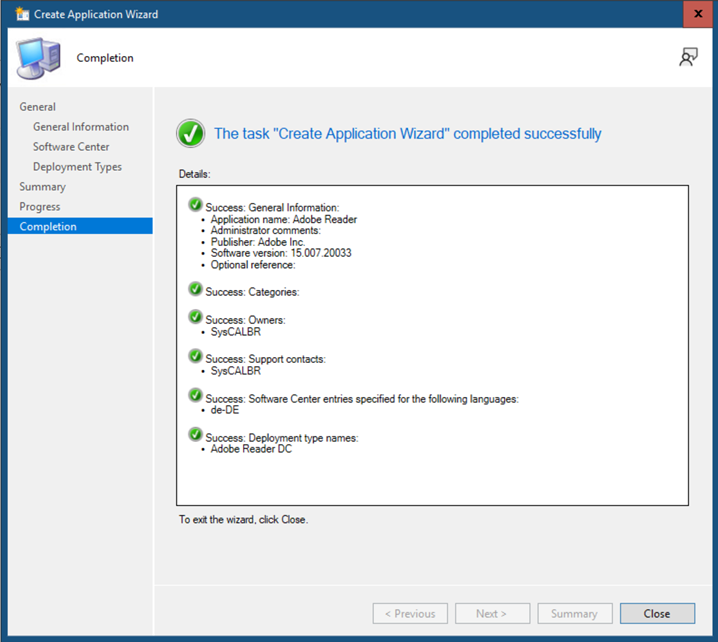
From here, the wizard can be abbreviated to ‘Summary’ and closed.

Click ‘Summary’ and close the wizard.
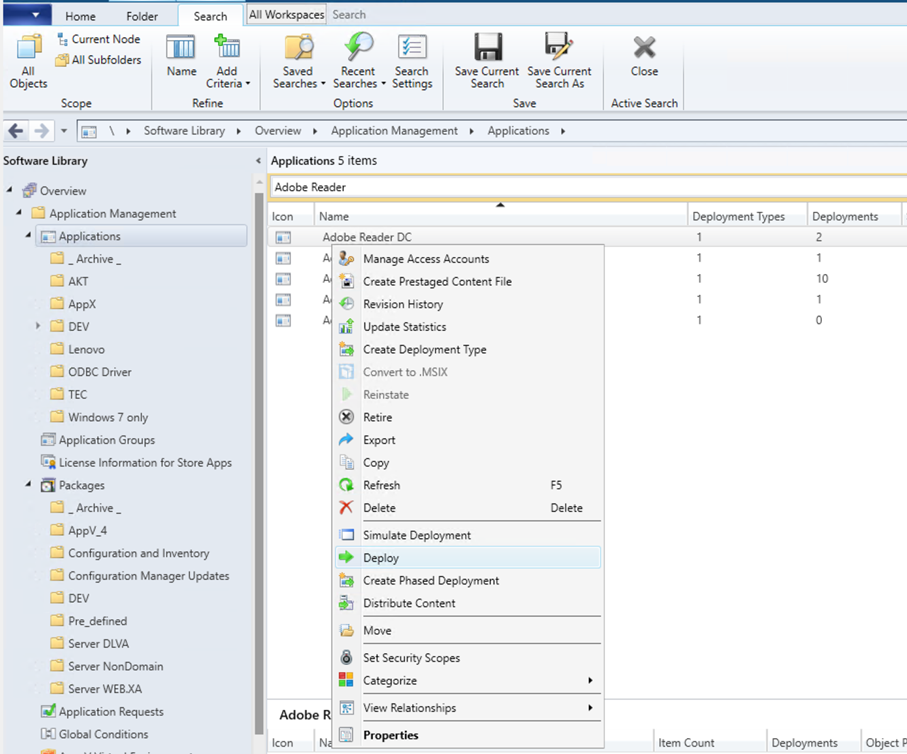
The new application now only needs to be deployed.
Flexible software packaging
The type of solution that will fit your organization best depends on whether you’re managing a complex infrastructure or need more flexibility.
XOAP’s Application Management module simplifies the application deployment processes significantly, especially when paired with Image, Configuration and Platform management modules.
While the Package Wizard we explored in this blog post is free to use with or without XOAP, we suggest you check out the entire XOAP platform. It will transform your expectations when it comes to software packaging.