Table of contents
Windows OS deployment is a critical task in IT management, involving the installation, customization and configuration of the Windows operating system on client computers within an organization. This process makes sure that all systems are standardized, secure and up-to-date with the necessary software and configurations to meet business needs.
However, for many, Windows OS deployment poses challenges – we’ll explain why. After that, we’ll show you how to solve them by combining XOAP with OSDCloud.
Why deploying Windows OS is not an easy task
Deploying Windows operating systems presents several challenges for IT administrators:
Customization complexity: Deploying an operating system across numerous client computers often requires tailoring settings and software to meet diverse user and departmental needs. This demands significant effort to ensure the deployment process accommodates various hardware configurations, applications, and user preferences.
Consistency and standardization: Ensuring that OS deployment is consistent across all client machines is crucial. Inconsistencies can arise from differences in hardware, prior configurations, and user-installed software. While maintaining a standardized environment enhances manageability, achieving this uniformity can be challenging.
Security and compliance concerns: Ensuring that all deployed systems are secure and compliant with organizational policies and regulatory requirements is a perpetual concern. This includes configuring security settings, installing necessary patches and updates, and verifying that all systems meet the required compliance standards.
Post-deployment support: Following the initial deployment, continuous support is crucial to resolve any issues that arise. This includes troubleshooting, system updates, and user assistance. Providing adequate support is essential for maintaining productivity and ensuring system health.
To address these challenges, consider combining XOAP with the OSDCloud solution.
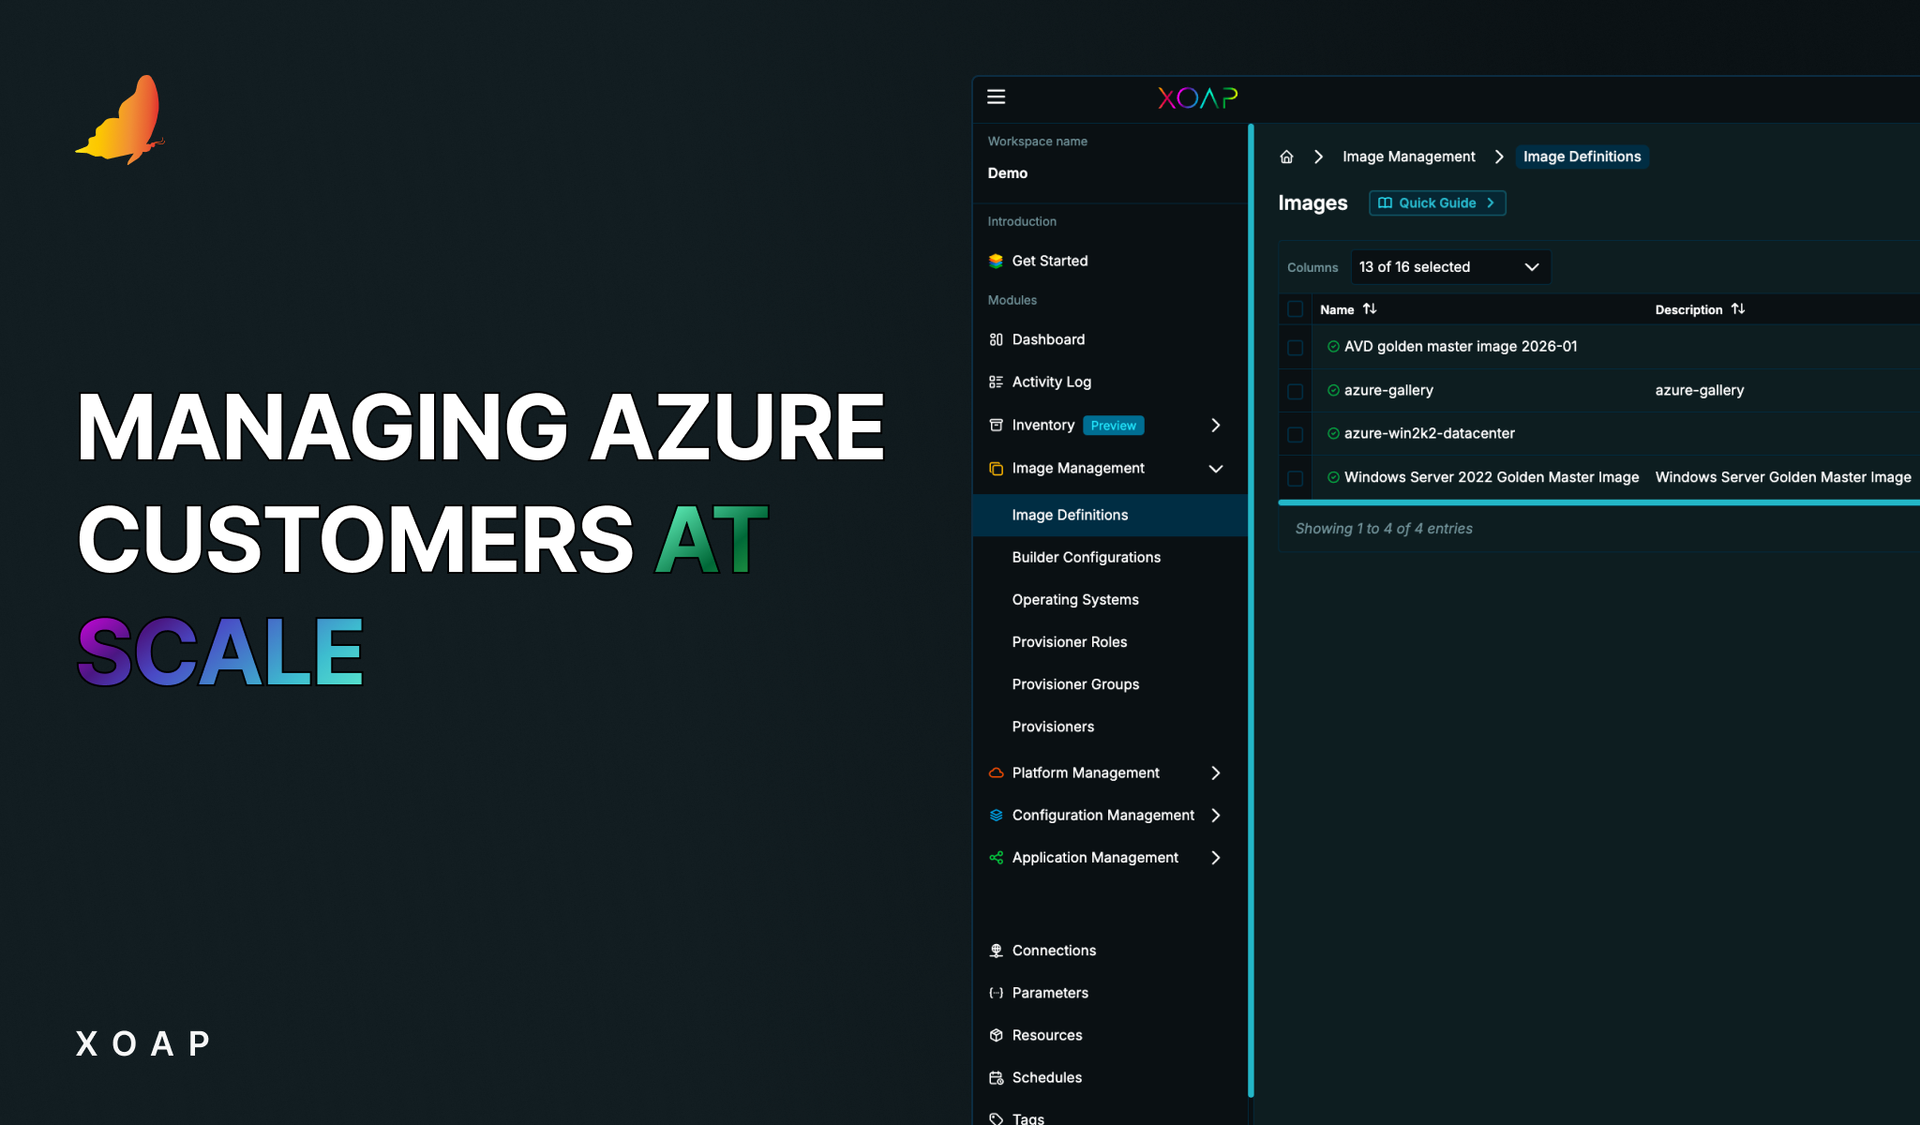
OSDCloud facilitates the deployment of Windows 10/11 over the internet using the OSD PowerShell Module. The process involves booting into WinPE, where the OSDisk is wiped and partitioned. Afterward, the Windows Operating System is downloaded from Microsoft Update (using CuRL) and then staged (expanded) on the OSDisk. More information can be found on the OSDCloud website.
Let’s see how you can use OSDCloud easily without the hassle of installing additional modules or dependencies. ⬇️
Simplified deployment with XOAP & OSDCloud
First, create a free XOAP account if you don’t have one yet. (No credit card required!)
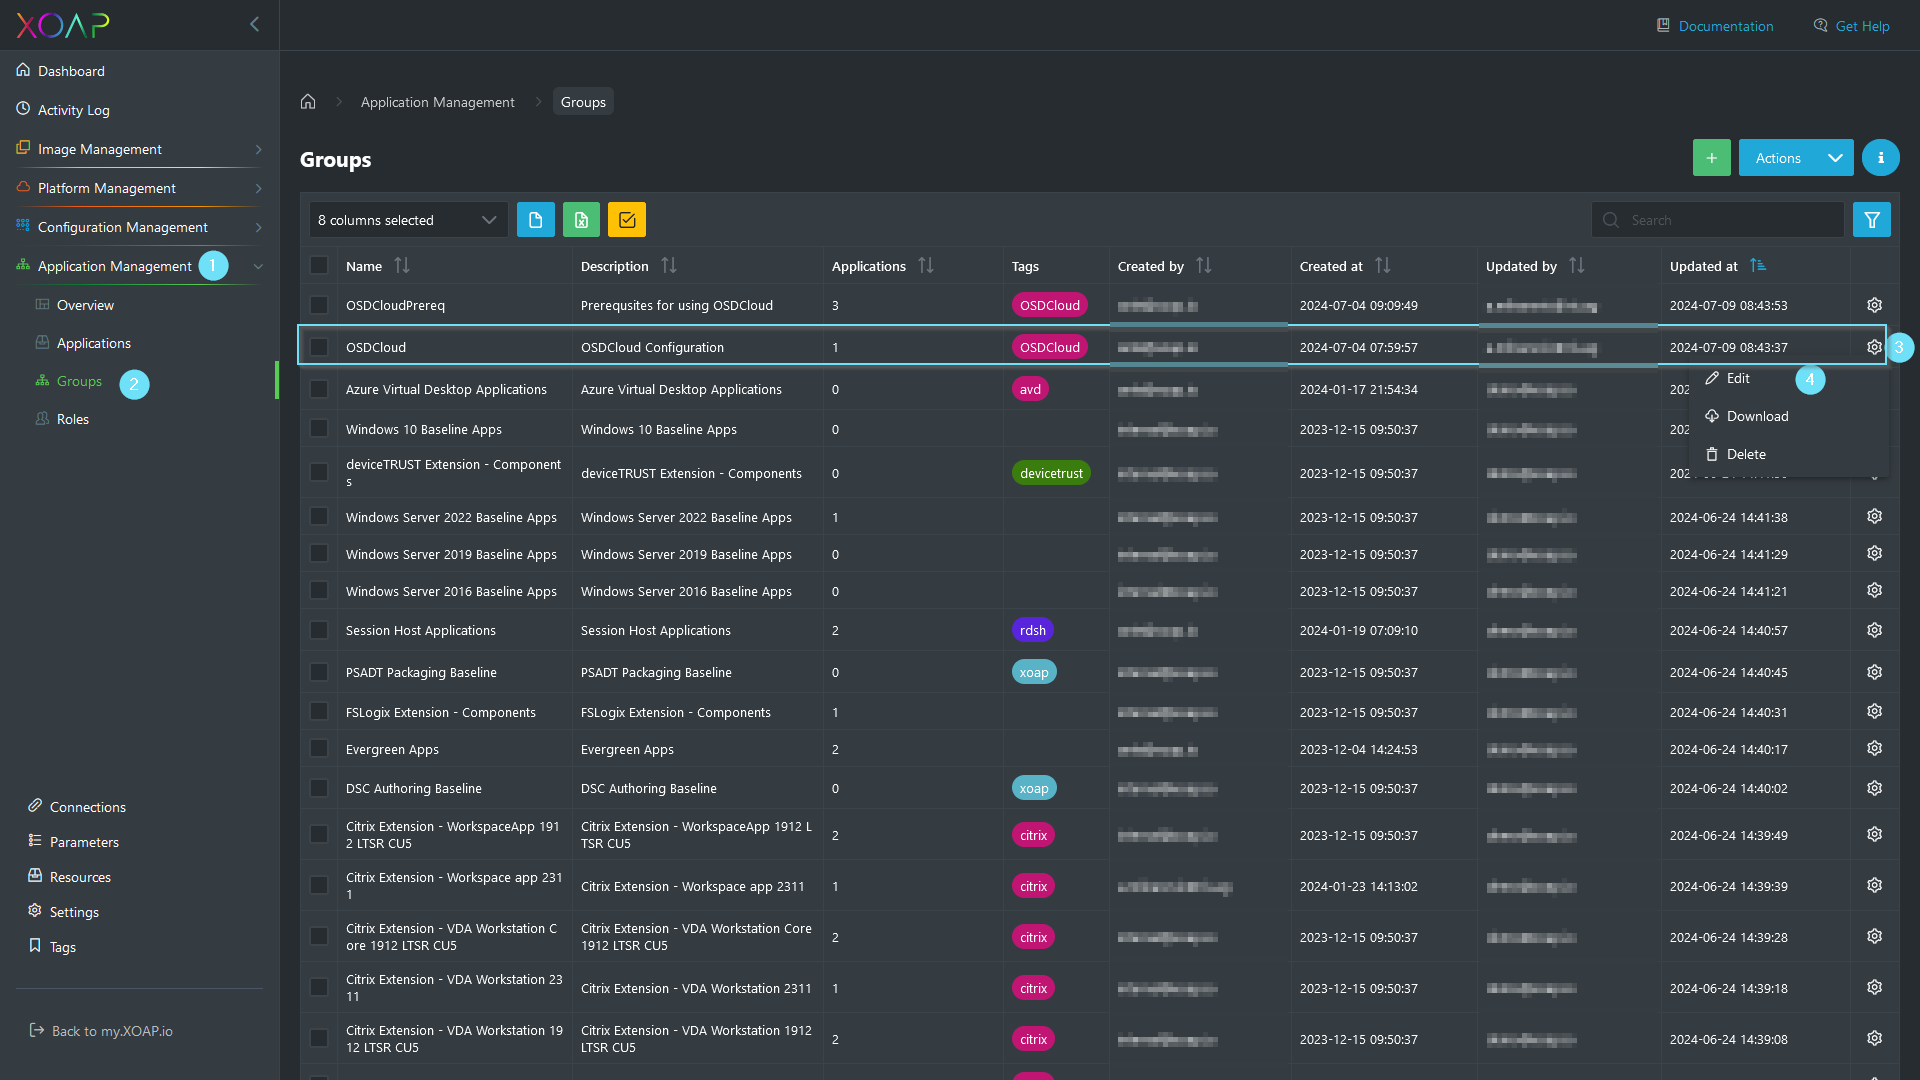
Log in to your Workspace and navigate to Application Management > Groups.
Find the group named OSDCloud and select Edit.
In the group editing window, expand the OSDCloudImageCreation application and configure the parameters to define your OSD image.
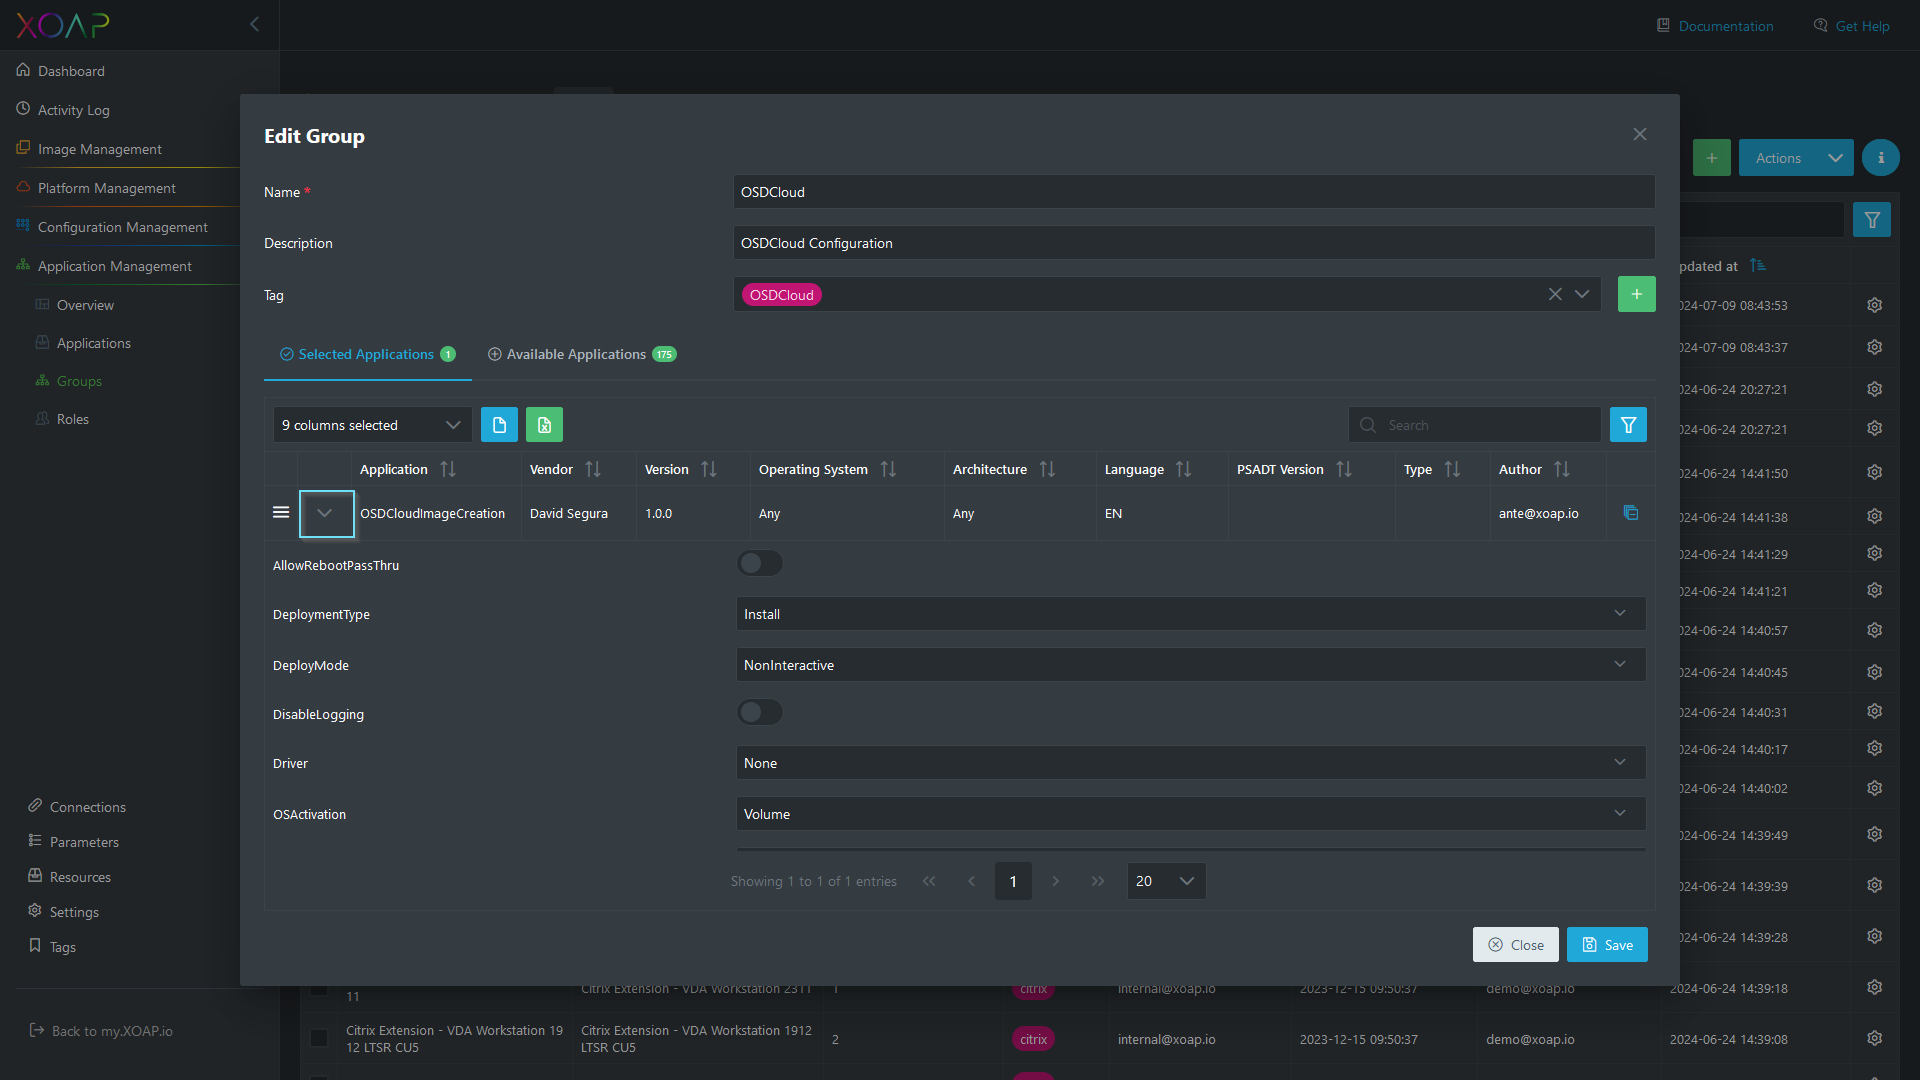
Besides the standard PSADT parameters, you can define the following OSDCloud-related parameters:
- Driver: Configures whether drivers should be installed directly from the manufacturer’s site. ➜ Select * to install all drivers, or None to not install any.
- OSActivation: Select between Volume and Retail.
- OSVersion: Select the desired OS version.
- OSBuild: Select the build of the desired OS.
- OSEdition: Select the edition of the desired OS.
- OSLanguage: Select the language.
- unattendFileLocation: The location of the unattended file used to configure the OS. ➜ If you do not define this parameter, a generic unattended file will be used, which will create two users, “Admin” and “User,” with the generic password “password.”
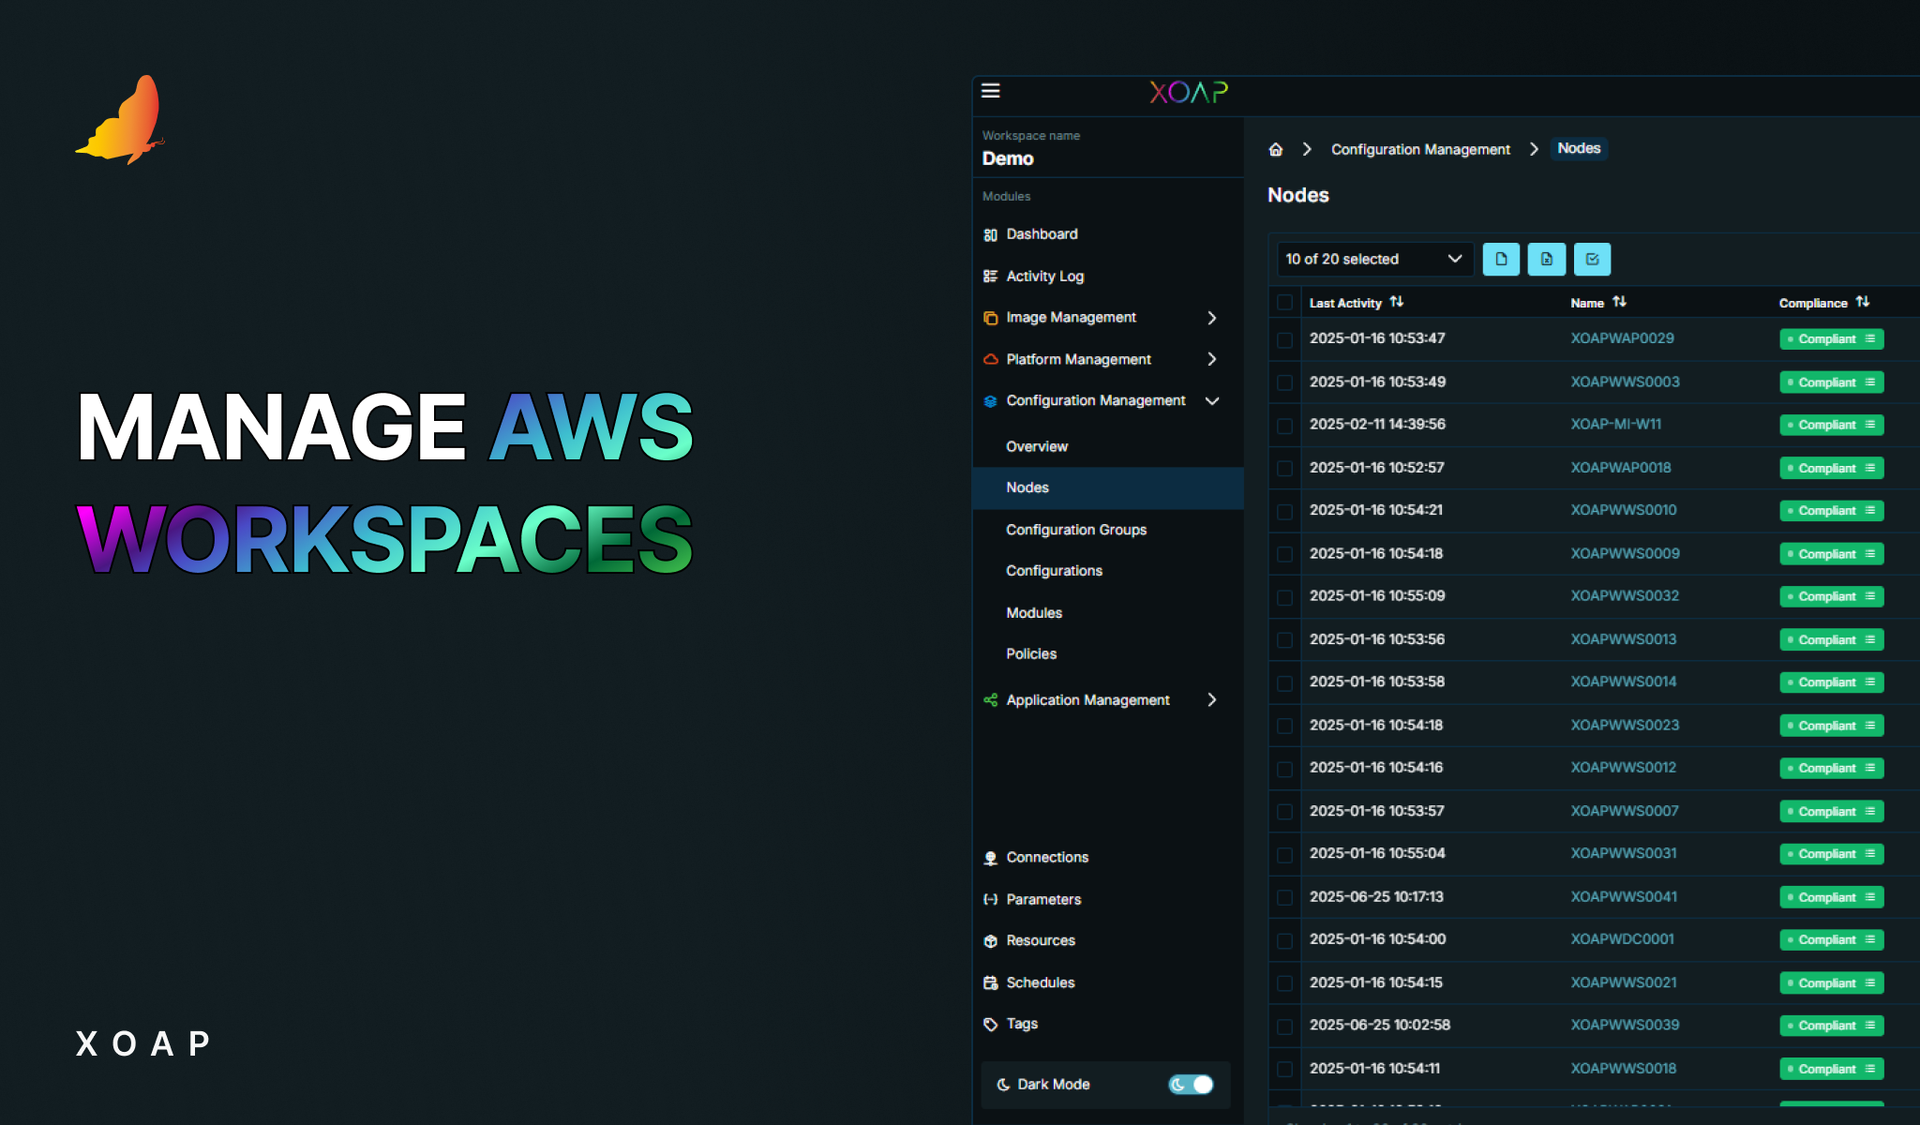
- XOAPConfigurationGroup: The name of the configuration group to which the node should be registered. ➜ You can find the available configuration groups in your XOAP Workspace > Configuration Management > Groups.
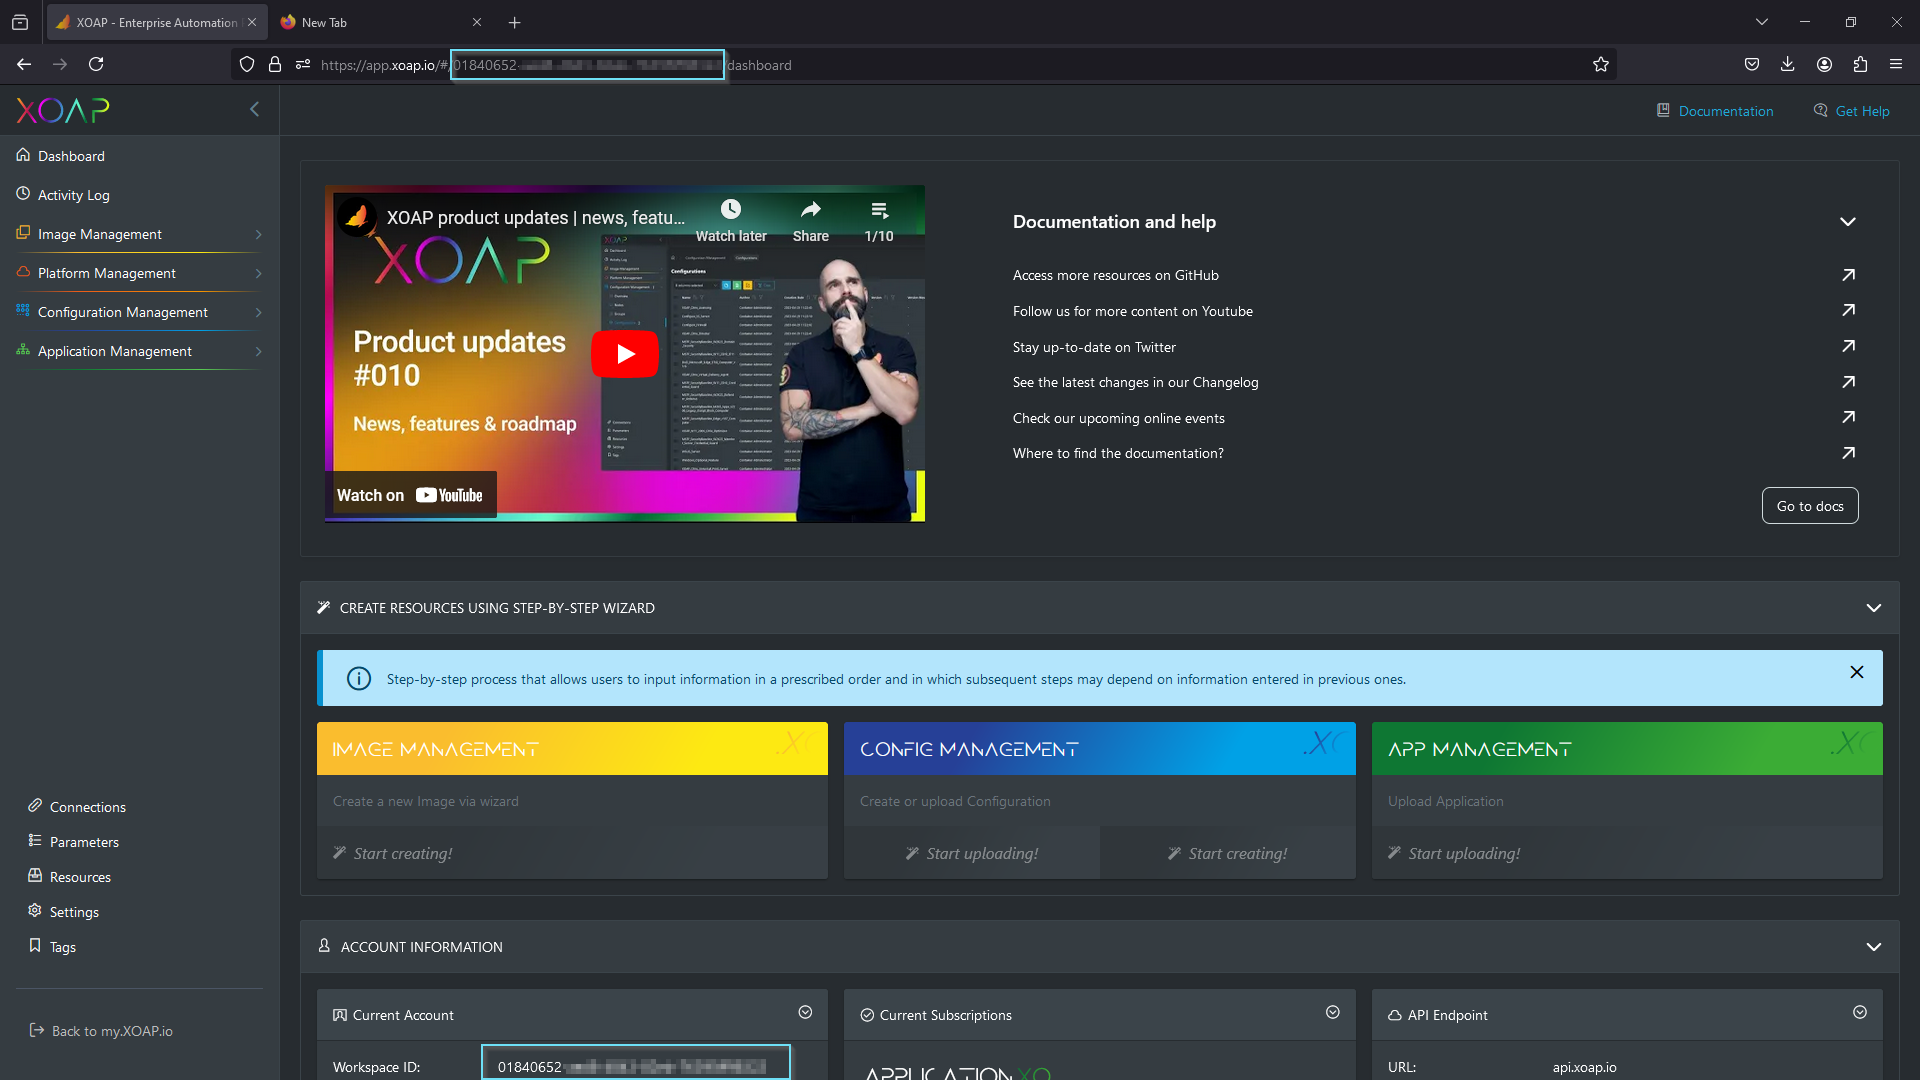
- XOAPWorkspaceID: The Workspace ID can be found on the main dashboard under “Account Information” or in your URL:
IMPORTANT:
For security reasons, always use your own unattend.xml file. If you use the generic one, make sure to change the passwords for the users after deployment is complete.
If you are using your own unattend file, please include the following line of code in the "<settings pass="specialize">" section:
<Path>powershell.exe -NoProfile -ExecutionPolicy Bypass -File "C:\Windows\XOAP.ps1"</Path>
See a code example of the generic unattend.xml with the code line for running XOAP.ps1 file below:
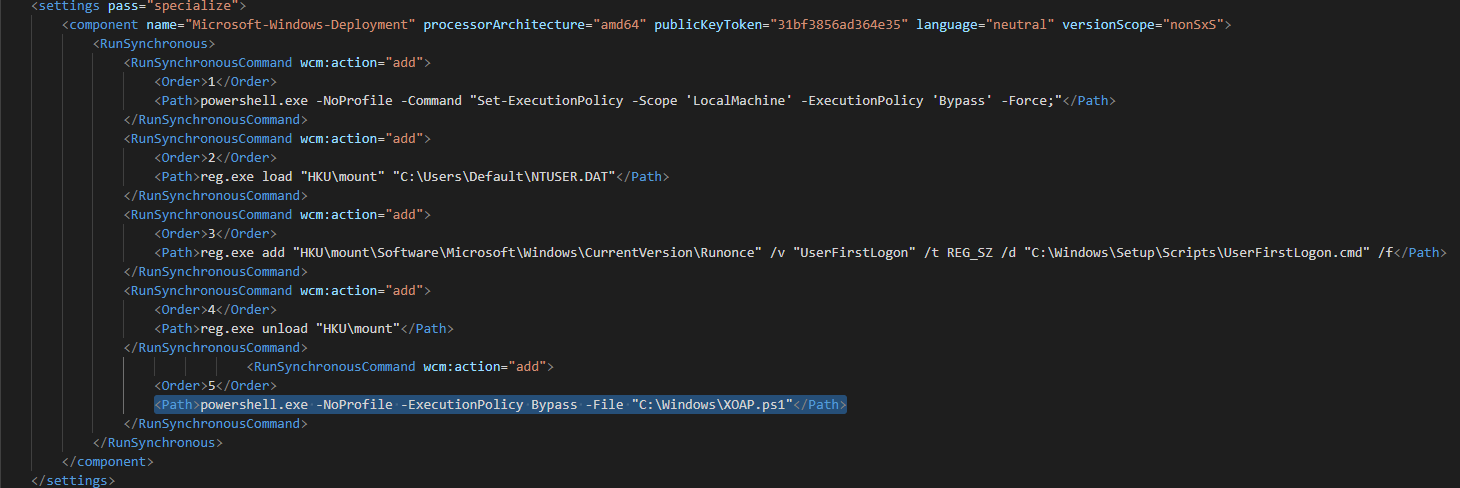
The XOAP.ps1 file is used to register your client to your XOAP Workspace during OSD.
Once you have defined all parameters, click Save in the Edit Group window.
The next step is to run the role installation script on the machine where the installation ISO should be created.
To do this, go to Application Management > Roles. Find the OSDCloud role, navigate to the action menu, and download the installation script.
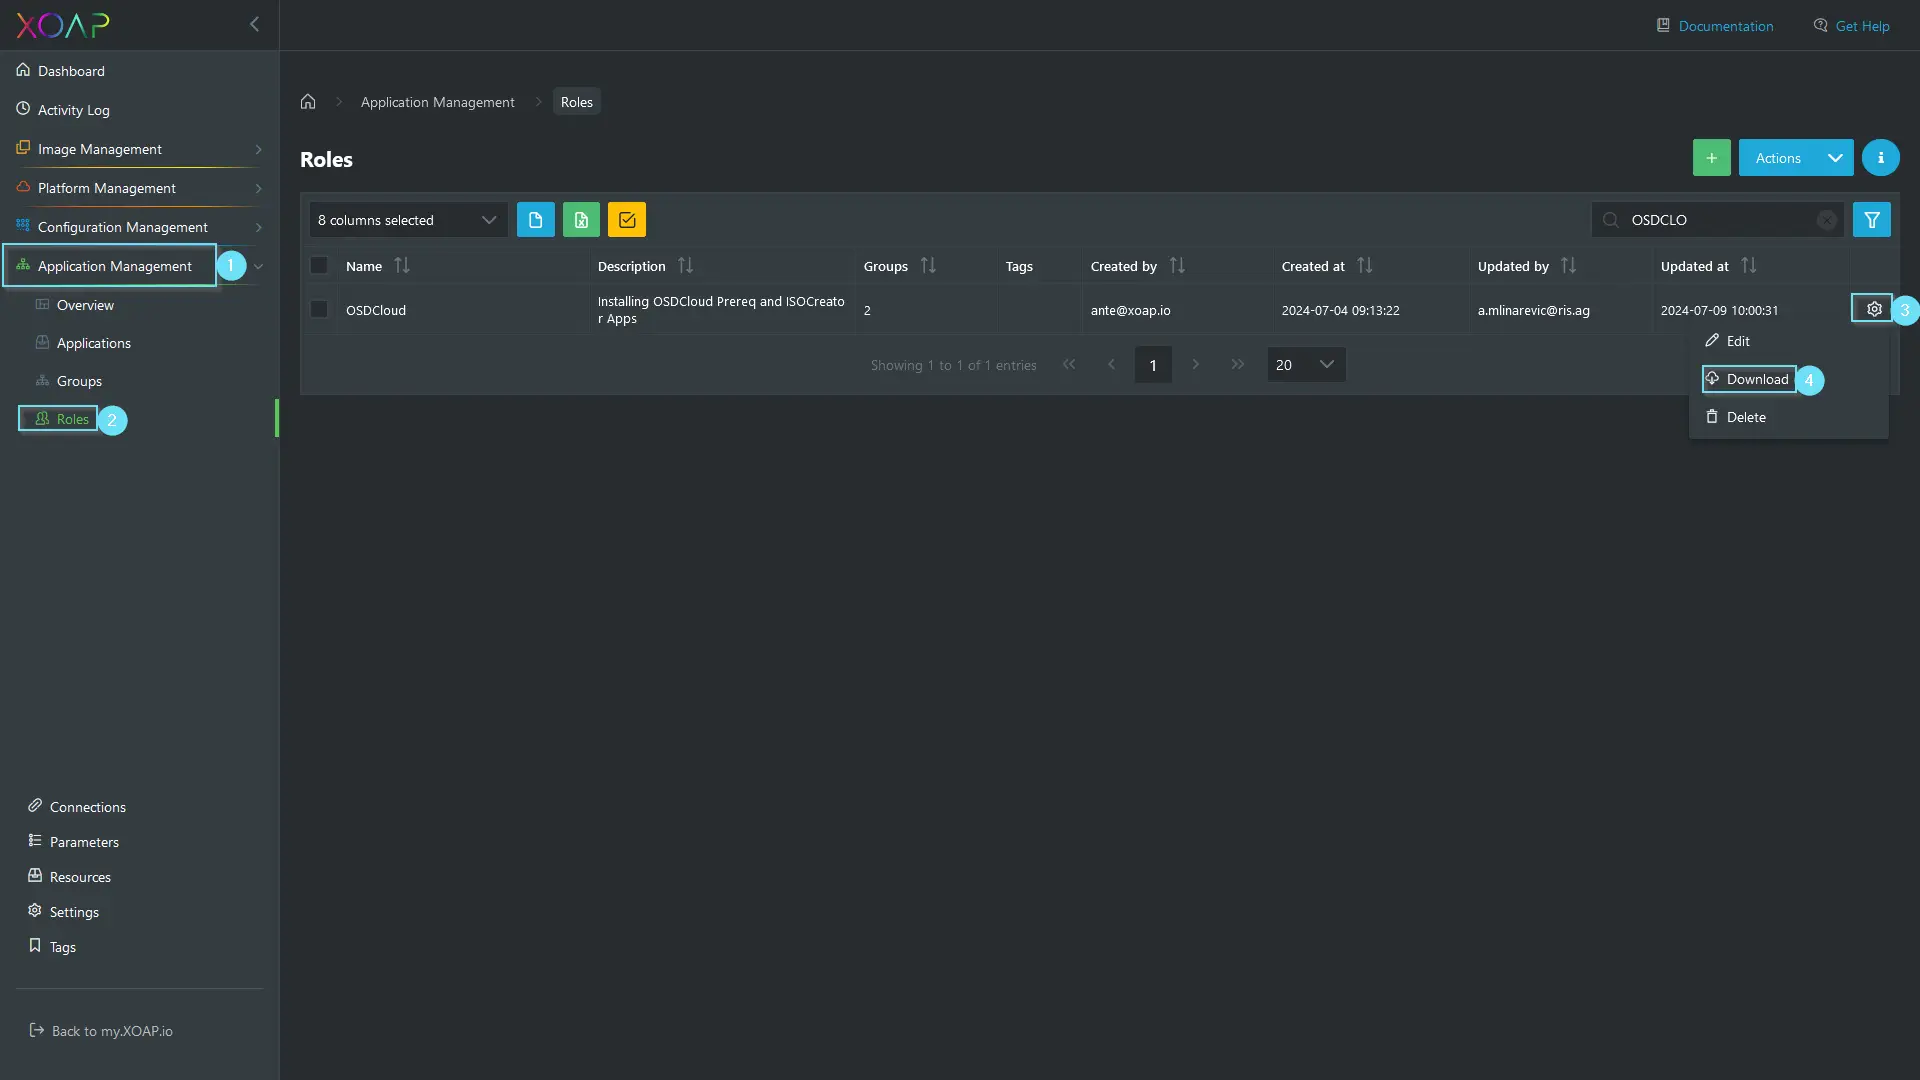
Copy the script to your desired machine, run PowerShell as an administrator and run the script.
This will install all prerequsites for OSDCloud and the creation of the ISO files.
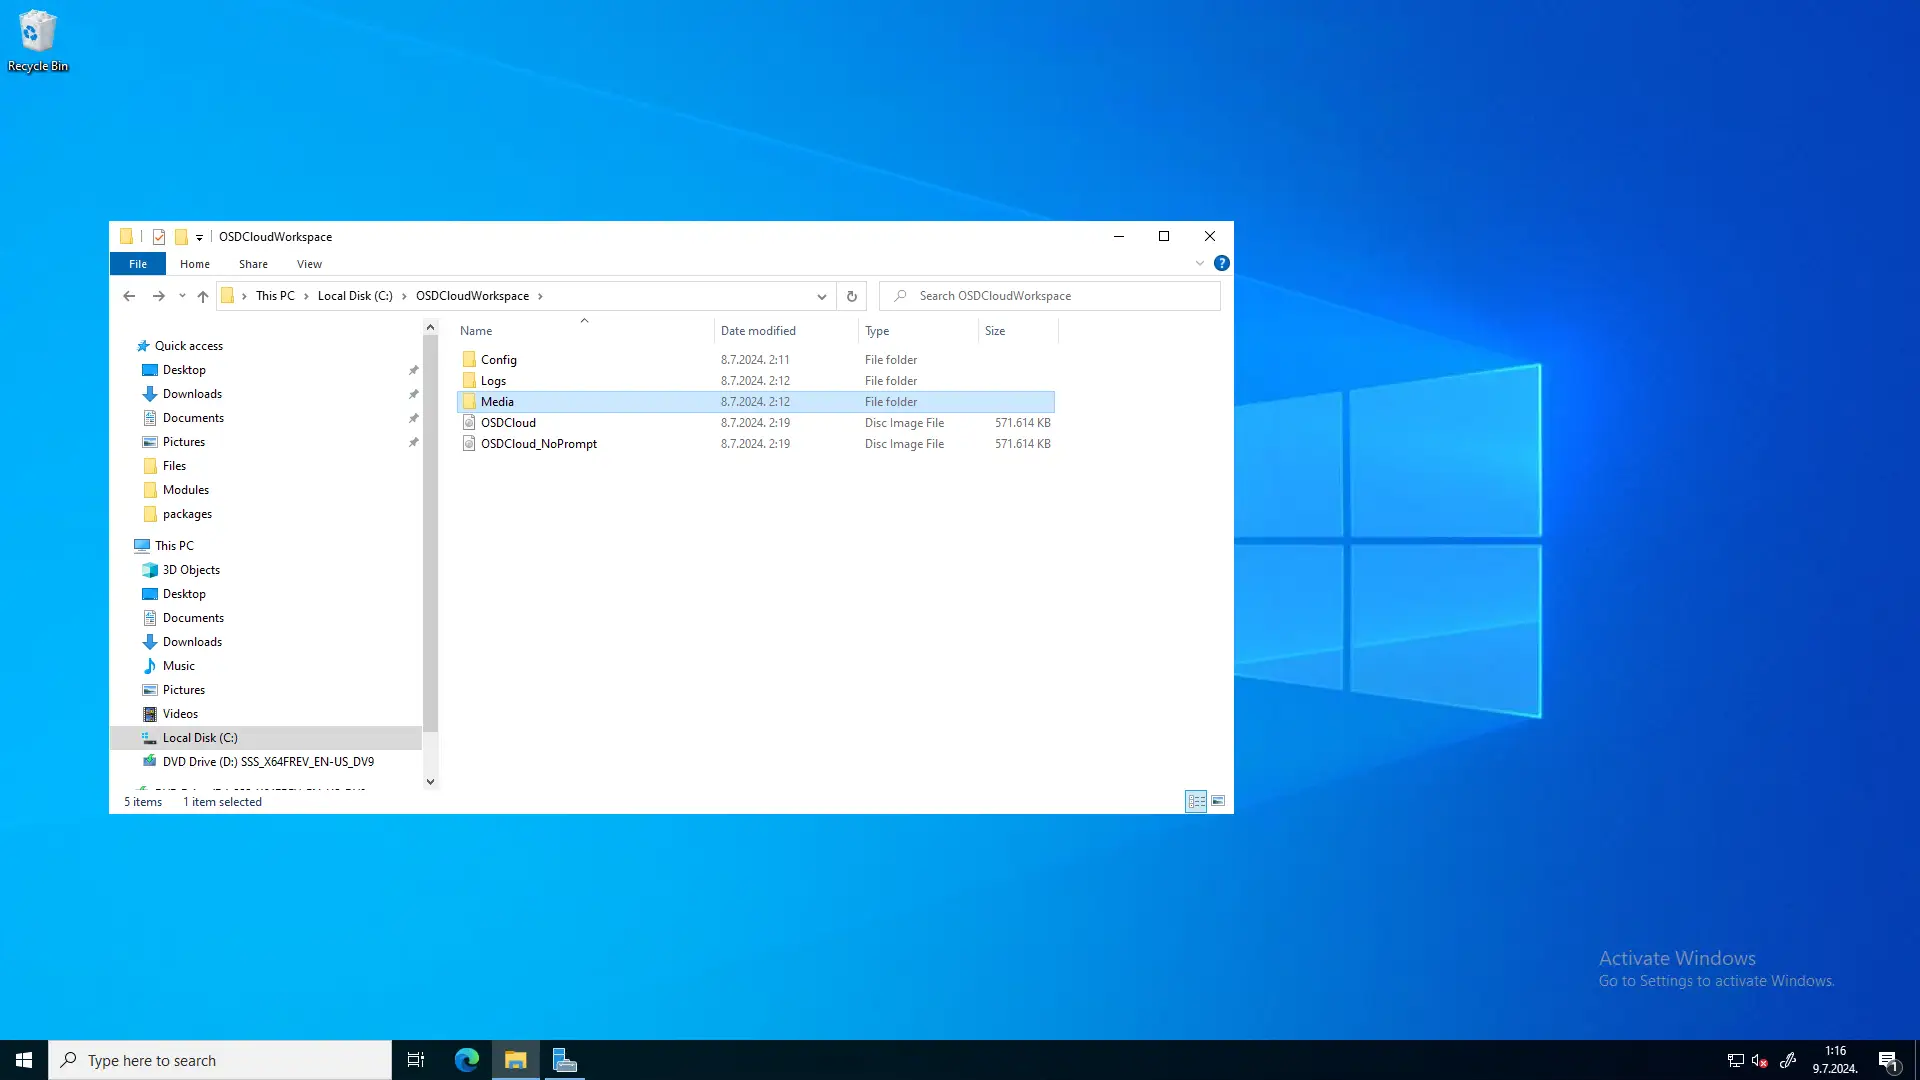
After the script runs successfully, you should have two ISO files in C:\OSDCloudWorkspace:
The last step is to create a bootable USB stick that can be used to deploy your laptops. You can use the New-OSDCloudUSB function. Just run it from the local PowerShell (with Admin rights), select a USB device attached to your machine and wait for it to finish.
For advanced configurations and adjustments, you can download the OSDCloudImageCreation PSADT package from the example above and modify it with additional parameters to suit your needs. More information about this OSD function can be found on the OSDCloud website.
Consistent & standardized OS deployment
By using our config.XO and application.XO modules, you can install all your standard applications and apply required system and user configurations or security settings.
For this purpose, have a look at our STIG and CIS DSC modules (also available on GitHub), which you can implement into your configurations. If you want to learn more or need additional help getting started with specific use cases, we are available for a free demo. 👋